Vehicle Customization & Upgrades
Traffic Overtaker lets the player repaint, re-wheel, dress up, and mechanically upgrade every car in the roster from the main-menu showroom. None of that logic lives in the TO_ game code — it is provided by the bundled Realistic Car Controller Pro (RCCP) customization layer. The game's TO_MainMenuManager is only a thin orchestrator: it spawns the vehicle, drives a small cart-based store UI, and calls three methods on the car's RCCP_Customizer to save, load, and apply a loadout. Understanding that split is the key to reskinning this system: you author paint colors, wheel sets, spoilers, and upgrade caps inside RCCP components on each vehicle prefab, and the TO_ UI simply buys and persists them.
This page documents the customization stack from the bottom up — the RCCP_Customizer brain, the eight upgrade managers it owns, the four mechanical upgrade scripts (engine, handling, brake, speed) plus NOS, the upgradable-wheels roster, and how the whole loadout persists per vehicle through PlayerPrefs.
The Customizer is the gatekeeper
Every vehicle that should be customizable must carry an RCCP_Customizer component (added as an addon under the vehicle's RCCP_CarController). The TO_Player custom inspector states this requirement explicitly:
"Vehicle must be equipped with the Customizer to use customization features. Otherwise, the customization buttons in the main menu will be disabled for this vehicle."
RCCP_Customizer (Assets/TO/Realistic Car Controller Pro/Scripts/Vehicle/RCCP_Customizer.cs) is the single entry point. It holds a serialized RCCP_CustomizationLoadout loadout, a saveFileName (the PlayerPrefs key for that vehicle), and lazy accessors for the eight upgrade managers. Its key configuration fields:
| Field | Type | Default | Purpose |
|---|---|---|---|
saveFileName |
string |
"" (auto-set to the car's transform name on Reset) |
The PlayerPrefs key under which this vehicle's loadout JSON is stored. Must be unique per vehicle. |
autoInitialize |
bool |
true |
Auto-initializes all managers; disable for networked vehicles. |
autoLoadLoadout |
bool |
true |
Loads the saved loadout from PlayerPrefs on Awake. |
autoSave |
bool |
true |
Saves the loadout to PlayerPrefs whenever a customization changes. |
initializeMethod |
InitializeMethod enum |
Start |
Unity callback used to initialize managers: Awake, OnEnable, Start, or DelayedWithFixedUpdate. |
The Customizer exposes lazy properties for each sub-system — PaintManager, WheelManager, UpgradeManager, SpoilerManager, SirenManager, CustomizationManager, DecalManager, and NeonManager — each resolved via GetComponentInChildren(...). When you call Initialize(), it walks every non-null manager and applies the current loadout to the live vehicle. Because the managers are discovered as children, a vehicle only gains a feature (say, spoilers) when the matching manager component is present on the prefab; the game UI greys out buttons for absent managers.
How the menu drives it (save / load / apply)
TO_MainMenuManager (Assets/TO/Scripts/Managers/TO_MainMenuManager.cs) wraps the Customizer in three public methods, each of which warns to the console if no Customizer is found on the spawned car:
public void SaveCustomization()  => currentCar.CarController.Customizer.Save();        // persist loadout JSON
public void LoadCustomization()  => currentCar.CarController.Customizer.Load();        // read JSON back into loadout
public void ApplyCustomization() => currentCar.CarController.Customizer.Initialize();  // push loadout onto the live car
When a car is spawned in the showroom, SpawnCar() checks whether a saved slot already exists for that vehicle:
if (!PlayerPrefs.HasKey(currentCar.CarController.Customizer.saveFileName)) {
    SaveCustomization();                 // first time: write the factory loadout
} else {
    LoadCustomization();                 // returning: read the saved loadout
    ApplyCustomization();                //            and apply it to the model
}
This is the contract you reuse when reskinning: spawn a car, and its last-saved paint/wheels/upgrades reappear automatically. StartRace() calls SaveCustomization() one final time before loading the gameplay scene, so the loadout the player sees in the menu is exactly what spawns on the road.
The cart-based store
Buying customizations is a two-phase, cart-driven flow rather than an instant purchase. TO_MainMenuManager keeps a List<TO_CartItem> itemsInCart, and the store UI populates it:
AddItemToCart(TO_CartItem)/RemoveItemFromCart(TO_CartItem)— add or remove a pending item; the cart enforces one item peritemType, so adding a second wheel set replaces the first.PurchaseCart()— sums each item'sprice, checksTO_API.GetCurrency(), consumes the money viaTO_API.ConsumeCurrency(totalPrice), then flags each bought item as owned withPlayerPrefs.SetInt(itemsInCart[i].saveKey, 1)and callsSaveCustomization().ClearCart()— empties the cart and rolls the vehicle back to the last saved loadout viaLoadCustomization()+ApplyCustomization(), restoring default wheels (WheelManager.Restore()) and paint (PaintManager.Restore()) if nothing was equipped.
Visual items (paint, wheels, spoilers, sirens, decals, neon) go through TO_UI_PurchaseItem/TO_UI_PurchaseCustomization. Mechanical upgrades go through TO_UI_PurchaseUpgrade, which computes the next-level price as Mathf.InverseLerp(0, 6, UpgradeLevel + 1) * (defaultPrice * 1.5f) and routes the purchase to TO_UI_MainmenuPanel.Instance.CheckUpgradePurchased(upgradeItem). Its maximumLevel defaults to 5, matching the upgrade caps below.
Mechanical upgrades (engine, handling, brake, speed)
Performance tuning is owned by RCCP_VehicleUpgrade_UpgradeManager, which manages four child scripts. Each script stores an integer level (capped at 5) and an efficiency multiplier in the [Range(1f, 2f)] band; the actual stat is interpolated Mathf.Lerp(default, default * efficiency, level / 5f), so level 0 is stock and level 5 reaches the full efficiency multiple. The four upgrades and the exact stat each one drives:
| Upgrade script | Level property (max) | Default efficiency |
RCCP stat it modifies |
|---|---|---|---|
RCCP_VehicleUpgrade_Engine |
EngineLevel (5) |
1.15 |
CarController.Engine.maximumTorqueAsNM |
RCCP_VehicleUpgrade_Handling |
HandlingLevel (5) |
1.2 |
CarController.Stability.tractionHelperStrength |
RCCP_VehicleUpgrade_Brake |
BrakeLevel (5) |
1.2 |
each axle's maxBrakeTorque |
RCCP_VehicleUpgrade_Speed |
SpeedLevel (5) |
1.1 |
CarController.Engine.maximumSpeed |
The UpgradeManager exposes UpgradeEngine(), UpgradeBrake(), UpgradeHandling(), and UpgradeSpeed(). Each bumps the level by one (returning early at 5), calls the child's UpdateStats(), refreshes the loadout, and — if Customizer.autoSave is on — persists immediately. Restore() resets all four back to stock. The TO_Player inspector summarizes the design intent of these caps:
"Maximum Upgradable Values — These values will be calculated by multiplying the default values with 1.2x. With this way, each vehicle will have fair upgrade stats."
That 1.2x is the editor's general description; the shipped per-component efficiency values in the table above are the authoritative numbers (engine 1.15, speed 1.1, handling/brake 1.2). Because every car upgrades relative to its own stock figures, a weak starter car and a top-tier car both gain a proportional, balanced boost rather than a flat one.
NOS
NOS is a five-level performance upgrade handled by RCCP_VehicleUpgrade_NOS (Assets/TO/RCCP_VehicleUpgrade_NOS.cs), mirroring the engine/handling/brake/speed pattern. Its NOSLevel runs 0–5: level 0 disables CarController.OtherAddonsManager.Nos, and levels 1–5 enable it and scale Nos.torqueMultiplier linearly via Mathf.Lerp(nosMultiplierAtLevel1, nosMultiplierAtLevel5, (NOSLevel - 1) / 4f) — i.e. from 1.2× at level 1 to 3.0× at level 5 (the two endpoints are serialized fields nosMultiplierAtLevel1 = 1.2 and nosMultiplierAtLevel5 = 3). As the TO_Player inspector notes, the vehicle "must be equipped with the NOS (In 'Other Addons' component)" for this upgrade to do anything.
Upgradable wheels
Wheels are a global, shared roster rather than a per-vehicle list. RCCP_ChangableWheels is a ScriptableObject loaded from Resources (Resources.Load("RCCP_ChangableWheels")) with a single array wheels[], where each entry is a nested ChangableWheels class holding one GameObject wheel prefab. The live asset ships 7 wheel presets. Every vehicle that has a RCCP_VehicleUpgrade_WheelManager can equip any of them.
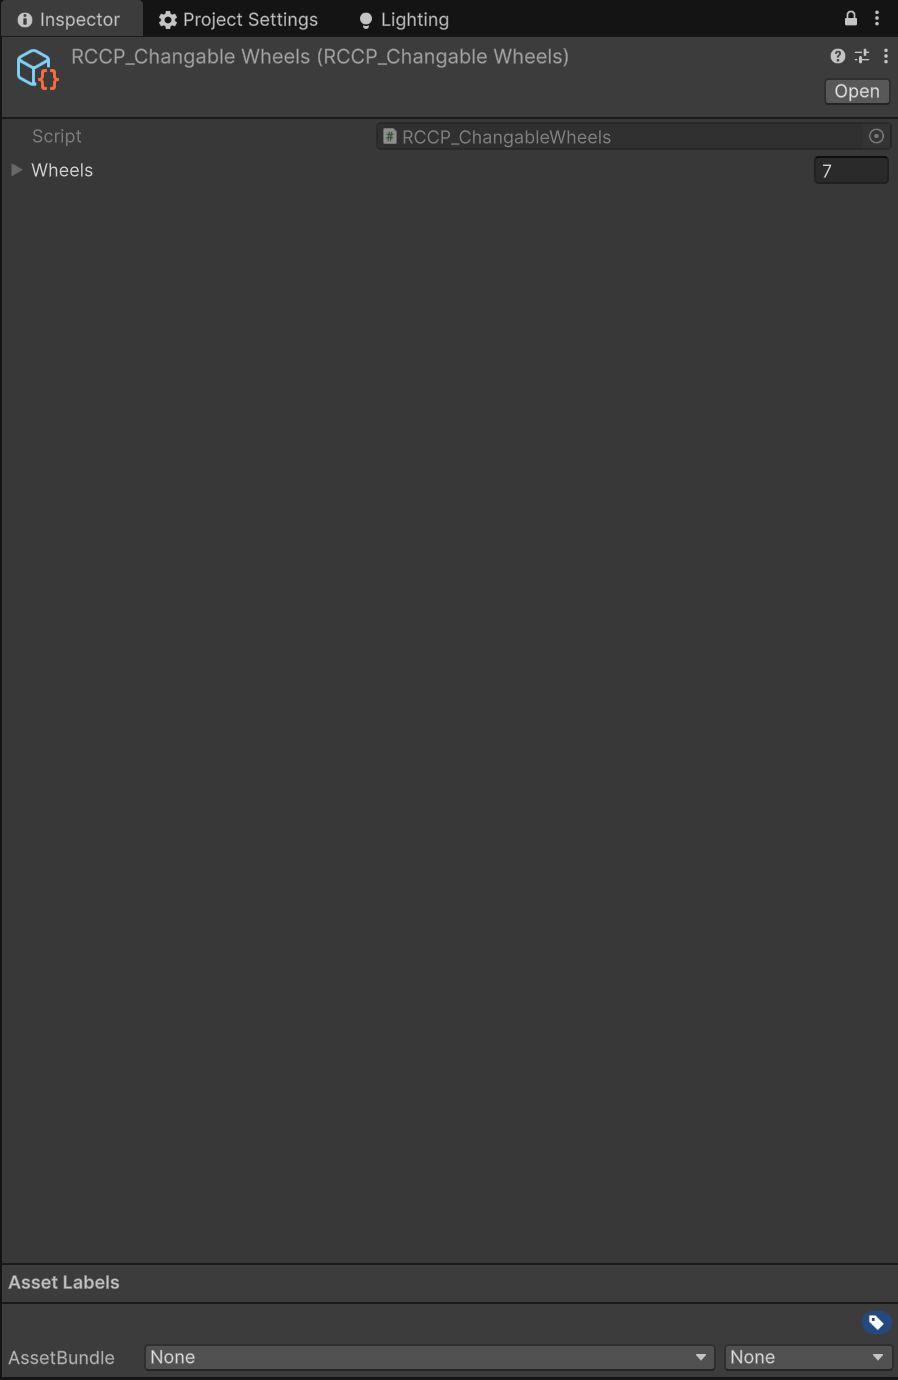
The Configure Upgradable Wheels view lists the seven shared wheel-prefab slots that every customizable vehicle can equip.
At runtime, the WheelManager tracks a wheelIndex (default -1 = stock wheels). UpdateWheel(int index) sets the index, calls ChangeWheels(RCCPChangableWheels.wheels[index].wheel, true) to instantiate the new wheel model on every RCCP_WheelCollider (auto-mirroring scale on the right side and recomputing collider radius), then refreshes and saves the loadout. Restore() returns the vehicle to its original wheels. To open and edit the roster, use Tools > BoneCracker Games > Traffic Overtaker > Configure Upgradable Wheels, which selects the RCCP_ChangableWheels asset (the same list is also previewed inside the TO_Settings inspector). Adding a wheel for the whole game is a single edit here — there is no per-prefab wheel list to maintain.
What a loadout stores
The serialized RCCP_CustomizationLoadout is the complete record of one vehicle's appearance and stats, serialized to JSON. Its fields define exactly what persists:
| Field | Type | Default | Meaning |
|---|---|---|---|
paint |
Color |
(1,1,1,0) |
Body paint color; alpha 0 means no paint applied. |
spoiler |
int |
-1 |
Equipped spoiler index (-1 = none). |
siren |
int |
-1 |
Equipped siren/police-light index (-1 = none). |
wheel |
int |
-1 |
Equipped wheel-set index into RCCP_ChangableWheels (-1 = stock). |
engineLevel |
int |
0 |
Engine upgrade level (0–5). |
handlingLevel |
int |
0 |
Handling upgrade level (0–5). |
brakeLevel |
int |
0 |
Brake upgrade level (0–5). |
speedLevel |
int |
0 |
Speed upgrade level (0–5). |
nosLevel |
int |
0 |
NOS upgrade level (0–5; 0 = NOS disabled). |
decalIndexFront / Back / Left / Right |
int |
-1 |
Per-side decal indices (-1 = none). |
neonIndex |
int |
-1 |
Neon underglow index (-1 = none). |
customizationData |
RCCP_CustomizationData |
new | Detailed suspension/steering/driving-aid settings. |
Persistence model
All customization persists through PlayerPrefs, keyed per vehicle by the Customizer's saveFileName. Save() writes PlayerPrefs.SetString(saveFileName, JsonUtility.ToJson(loadout)); Load() reads that string back into loadout; Delete() removes the key and calls every manager's Restore() to return the car to factory state. Because the entire loadout is one JSON blob under one key, you get clean per-car save slots with no field-by-field key sprawl.
Two robustness details matter when reskinning. First, the default saveFileName is the vehicle's transform name (assigned in the component's Reset), so give each player prefab a distinct name or the loadouts will collide. Second, RCCP_Customizer self-heals at runtime via EnsureUniqueSaveFileName() — an empty key is replaced with a GUID, and a key already claimed by another live vehicle is re-keyed — which prevents runtime-spawned clones from clobbering each other's slots. For the broader PlayerPrefs key inventory (currency, ownership, settings), see 14_APIReference.md.
HideAll() and ShowAll() round out the API: they toggle the visibility of all visual addons (spoilers, sirens, decals, neon) without touching the saved loadout, which is useful when you want a clean silhouette for a marketing shot or a gameplay context where accessories should not render.
Reskinning checklist
To make a new vehicle fully customizable in your reskin:
- Add an
RCCP_Customizerto the vehicle (under itsRCCP_CarController) and give it a uniquesaveFileName. - Add the manager components you want —
RCCP_VehicleUpgrade_PaintManager,RCCP_VehicleUpgrade_WheelManager,RCCP_VehicleUpgrade_UpgradeManager(with its Engine/Brake/Handling/Speed children), plus optional Spoiler/Siren/Decal/Neon managers andRCCP_VehicleUpgrade_NOS. - Populate the shared wheel roster via Configure Upgradable Wheels so the new car can equip wheels.
- Register the prefab in the player roster (see 06_PlayerVehicles.md); the menu store UI wires up automatically based on which managers the prefab carries.
See Also
- 06_PlayerVehicles.md — the vehicle roster, prefab structure, and
RCCP_CarControllerrequirements that customization sits on top of. - 11_ControllerTypes.md — input/controller options that affect how the customized car is driven in gameplay.
- 14_APIReference.md — the full
PlayerPrefskey inventory andTO_APIcurrency/ownership methods the store relies on. - 00_Index.md — the documentation table of contents.