Install and First Drive
Get CCDS imported, dependencies resolved, and a car moving. Budget 15 minutes, most of it package imports.
Before you import
| Requirement | Version | Notes |
|---|---|---|
| Unity | 6000.5 or newer | CCDS 1.7 is developed and tested on 6000.6.0f1. The Setup Wizard enforces the 6000.5 floor. |
| Universal Render Pipeline | 17.6.0 | CCDS ships URP materials and renderer assets. The Built-in pipeline is not supported. |
| Input System | 1.20.0 | Vehicle input uses RCCP_InputActions.inputactions. |
| AI Navigation | 2.0.14 | The city scenes carry NavMeshSurface components and AI vehicles use NavMeshModifier; the content does not compile without com.unity.ai.navigation. |
| TextMeshPro | Essentials imported | All UI text is TMP. |
| Photon PUN2 | Optional | Install separately only for multiplayer. Single-player needs neither the SDK nor an App ID. |
Realistic Car Controller Pro and Realistic Traffic Controller are bundled with CCDS. Do not buy or import them separately — CCDS carries its own copies under Assets/CCDS/.
Create the project from the Universal 3D template. Converting a Built-in project to URP afterwards works but costs you a material conversion pass you do not need.
Import into a new, empty project. CCDS is a complete project, not a drop-in library. It ships project settings that overwrite your existing ones — input, layers, quality, graphics. Importing it onto an existing game will change that game's configuration. The Setup Wizard warns about this on its first screen.
Import
- Import the CCDS installer package.
- Open Tools → BoneCracker Games → CCDS → Setup Wizard.
- Resolve the required Dependencies, then continue to Import and Finish. If Photon is installed, an optional Photon configuration step appears before Import; without the SDK, the wizard skips it automatically.
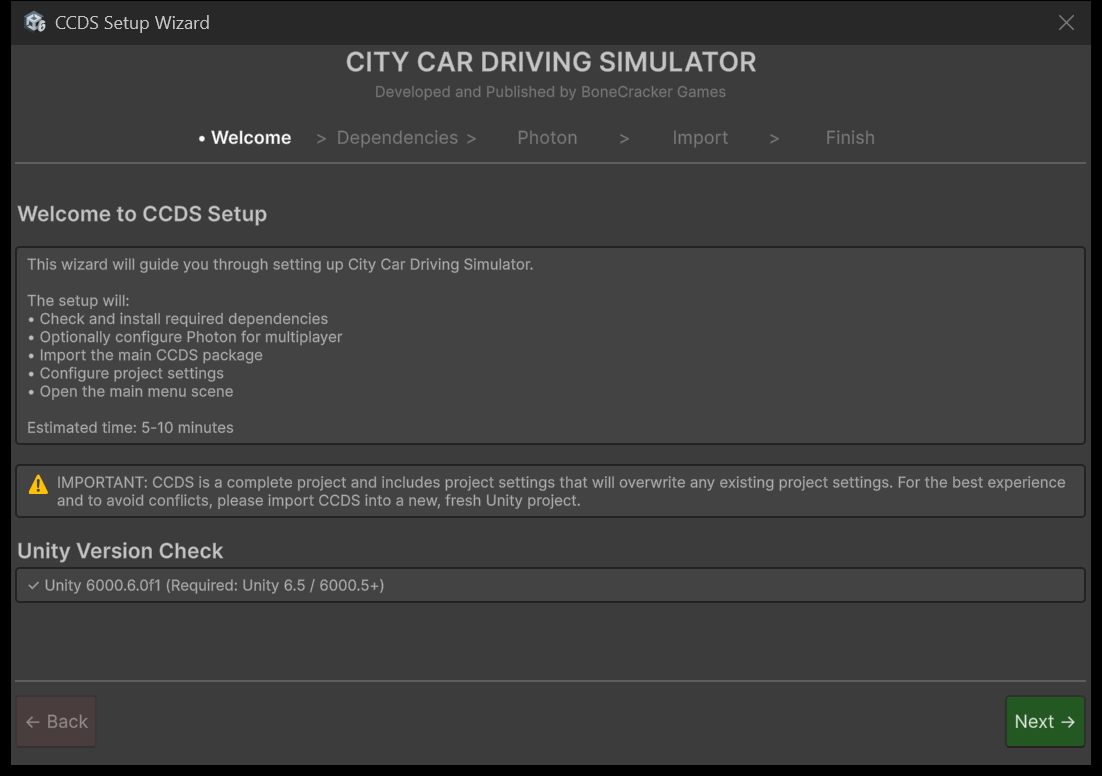
The wizard checks your Unity version up front. Import is blocked below the 6000.5 floor.
The Dependencies step checks TextMeshPro, URP, AI Navigation and the Input System, and offers to install missing packages. These remain required for import. Photon appears separately under Optional Multiplayer; its absence does not block installation.
If the Photon SDK is installed, the Photon step offers Configure Photon after you enter an App ID, or Skip to continue with single-player. Skipping does not clear an App ID you configured earlier.
Add multiplayer now or later
- Import Photon PUN2 separately. The Setup Wizard's optional dependency row links to its Asset Store page.
- Get your App ID from
https://dashboard.photonengine.com. - Open Tools → BoneCracker Games → CCDS → Setup Wizard, continue to the Photon step, enter Photon AppID, and click Configure Photon.
- After CCDS is installed, Tools → BoneCracker Games → CCDS → Multiplayer Setup reports whether Photon is installed and configured. With the SDK installed but no valid App ID, Select Photon Settings opens the settings asset for configuration.
Without the SDK, multiplayer controls are hidden and single-player remains available. With the SDK installed but no valid App ID, multiplayer connections stay disabled. Adding Photon uses the same scenes, vehicles and save data; no separate single-player content package or save reset is needed. See Multiplayer for connection and testing steps.
First drive
- Open Tools → BoneCracker Games → CCDS → Welcome Window.
- Select the Demo Scenes tab.
- Click Main Menu City.
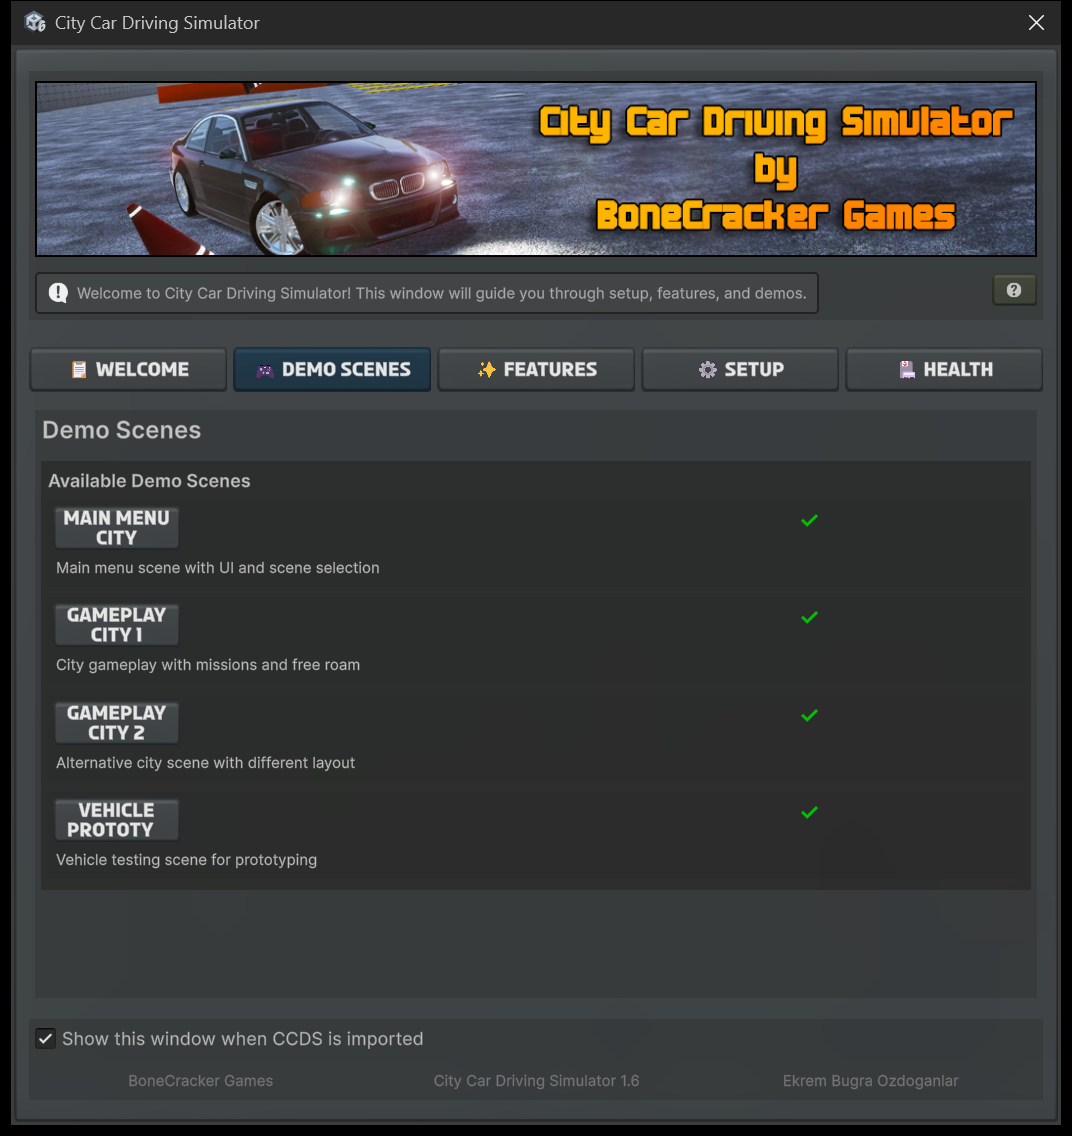
The window offers four scenes:
| Button | Scene | Purpose |
|---|---|---|
| Main Menu City | Assets/CCDS/Scenes/CCDS_MainMenu_City.unity |
Main menu, vehicle selection, customization |
| Gameplay City 1 | Assets/CCDS/Scenes/CCDS_Gameplay_City_1.unity |
City gameplay with missions and free roam |
| Gameplay City 2 | Assets/CCDS/Scenes/CCDS_Gameplay_City_2.unity |
Alternative city layout |
| Vehicle Prototype | Assets/CCDS/Scenes/CCDS_Vehicles_Prototype.unity |
Vehicle testing sandbox |
Press Play in the Main Menu scene and drive from there. Starting in a gameplay scene directly also works, but the main menu is what sets the selected vehicle and scene.

That is a gameplay scene running. The floating labels are mission markers — drive into one to start it. The HUD gives you speed and gear top-left, the minimap below it, and health and money top-right.
The first three scenes are in Build Settings at indices 0, 1 and 2. CCDS_Vehicles_Prototype is present but disabled — it is a sandbox, not a shipping scene.
The Welcome Window
Five tabs, and the fastest route to everything else in CCDS.
| Tab | Gives you |
|---|---|
| Welcome | The interactive Editor Tour and a quick-start checklist |
| Demo Scenes | One-click loading of the four scenes |
| Features | What the package includes |
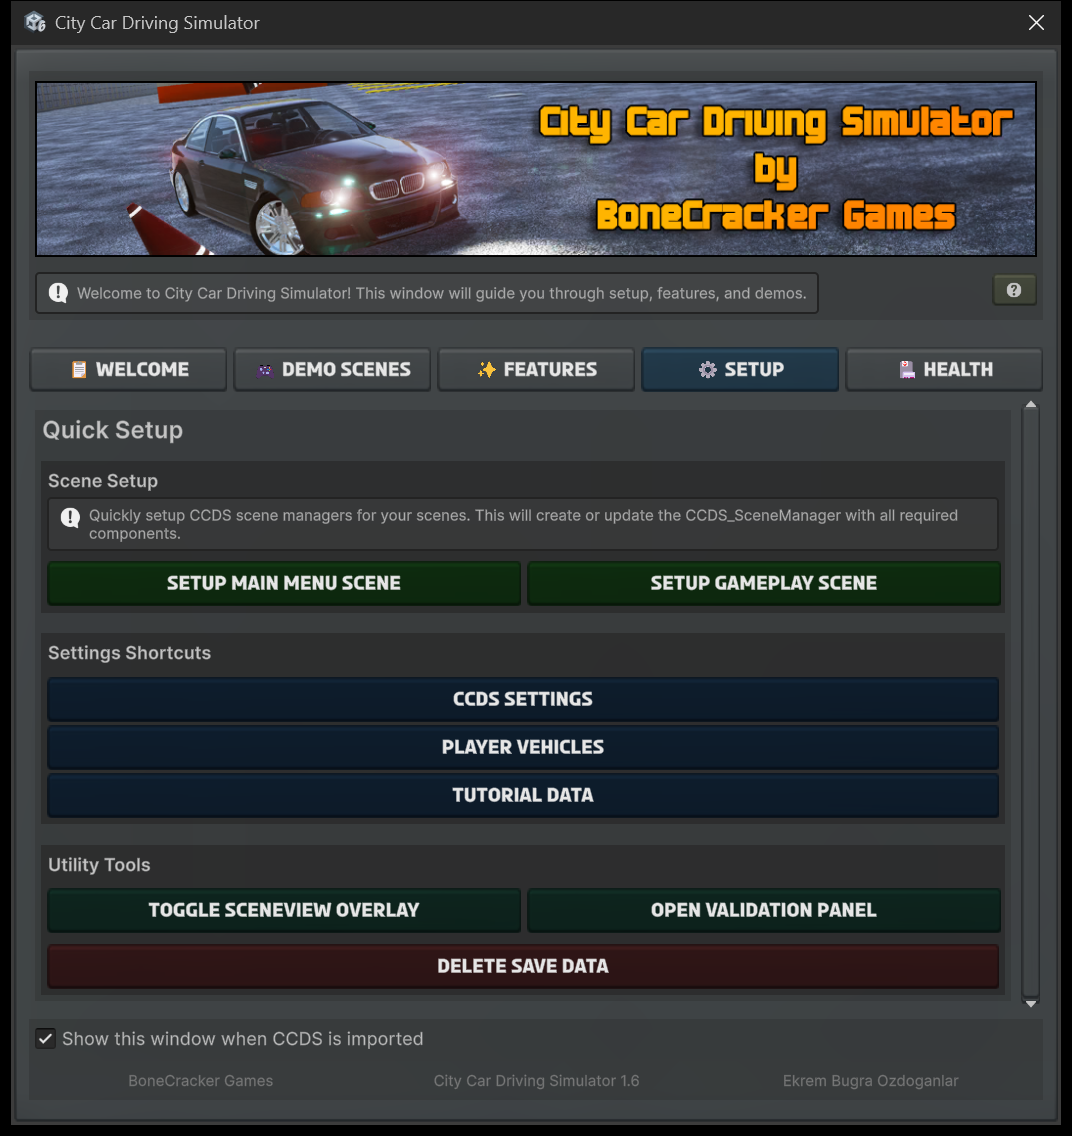
| Setup | Scene manager creation, settings shortcuts, utility tools |
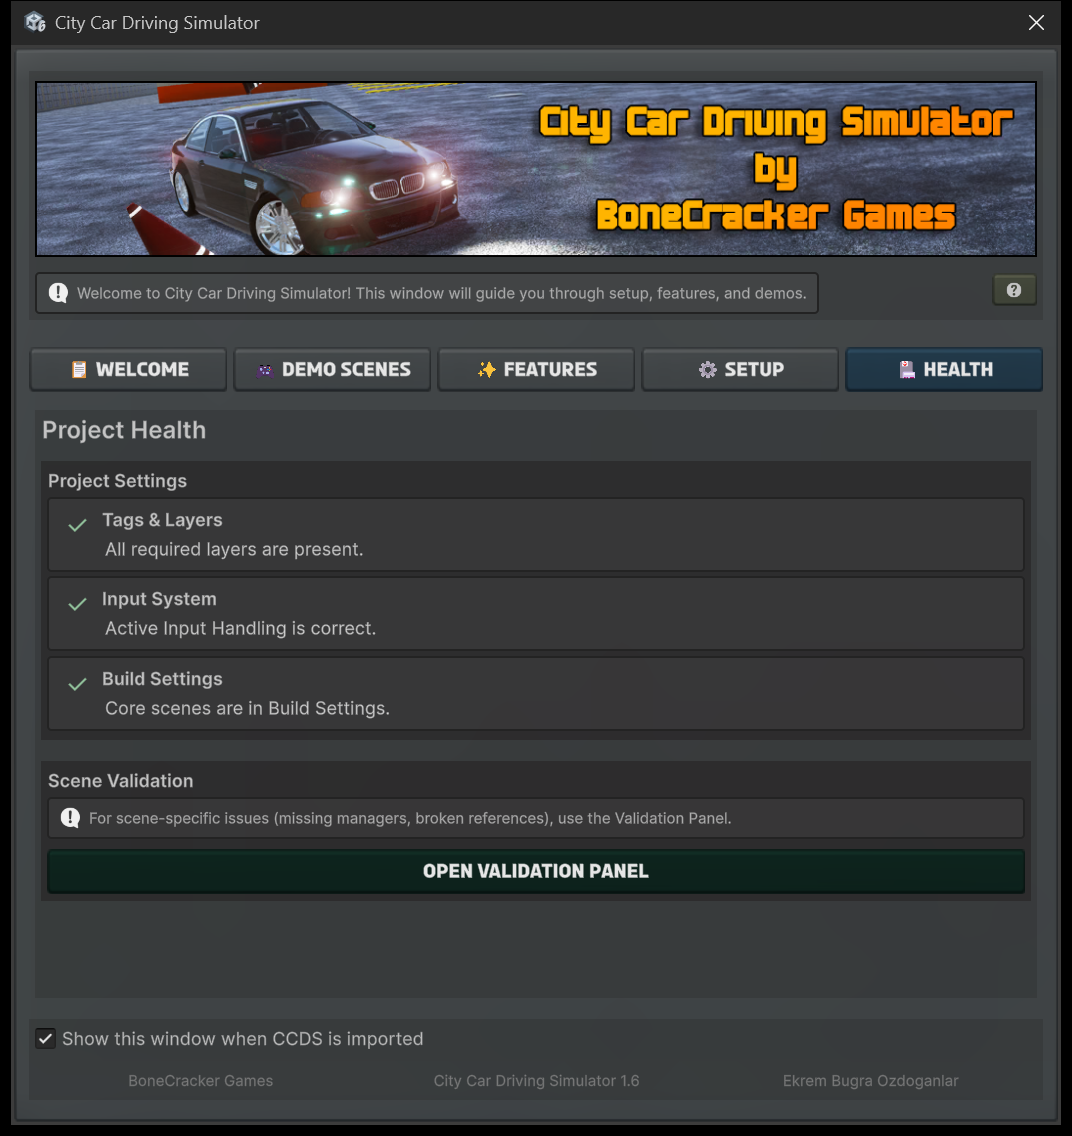
| Health | Project-level checks with one-click fixes |
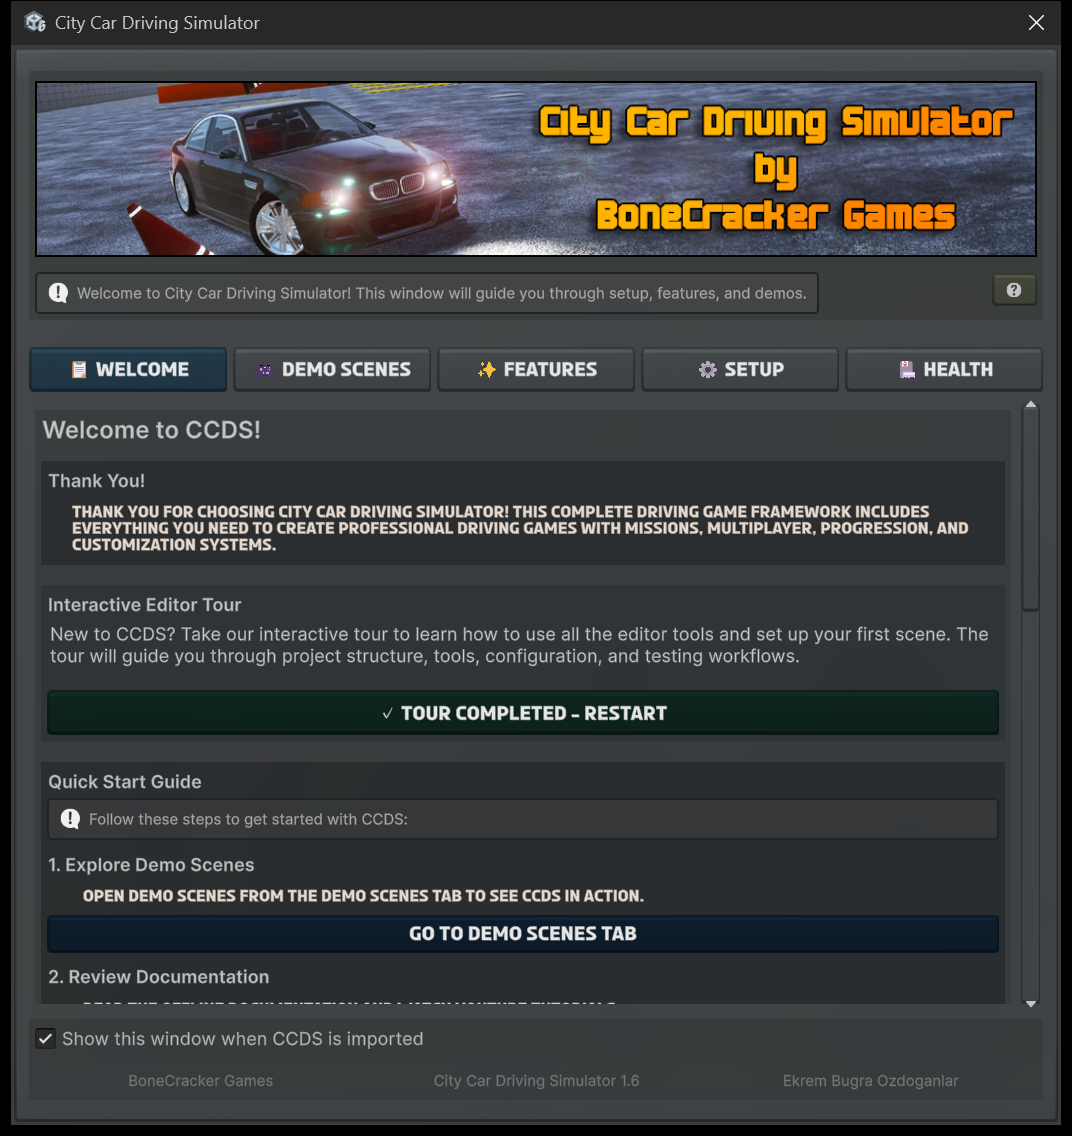
If you are new to Unity, run the Editor Tour from this tab before anything else — it walks the project structure and the CCDS tools in place, in your own editor.
The Setup tab is where you will spend the most time. It creates scene managers, opens the settings assets, and reaches the validation tools without hunting through menus.
Controls

Driving input comes from RCCP's RCCP_InputActions.inputactions. These are the shipped keyboard bindings.
Driving
| Key | Action |
|---|---|
W / Up Arrow |
Throttle |
S / Down Arrow |
Brake and reverse |
A D / Left Right |
Steering |
Space |
Handbrake |
I |
Start / stop engine |
Left Shift |
Gear shift up |
Left Ctrl |
Gear shift down |
N |
Neutral gear |
1–6 |
Select gear directly |
M |
Clutch |
F |
NOS |
T |
Detach trailer |
Lights and signals
| Key | Action |
|---|---|
L |
Low beam headlights |
K |
High beam headlights |
Q |
Left indicator |
E |
Right indicator |
Z |
Hazard lights |
Camera
| Key | Action |
|---|---|
C |
Change camera mode |
B |
Look back |
CCDS gameplay keys
These are CCDS's own, separate from RCCP.
| Key | Action | Source |
|---|---|---|
Y |
Confirm and start a mission while inside a mission marker | CCDS_Settings.missionConfirmKey — rebindable |
R (tap) |
Reset the vehicle upright | CCDS_Player |
R (hold) |
Hard reset back to the spawn point | CCDS_Player |
Tab (hold) |
Multiplayer scoreboard | CCDS_UI_MultiplayerIngame.toggleKey |
Return / Enter |
Send chat message | CCDS_UI_ChatPanel |
Esc |
Close chat when it is open | CCDS_UI_ChatPanel |
F12 |
Debug panel | CCDS_DebugPanel.toggleKey — off unless you enable enableDebugPanel |
F11 |
Debug console | CCDS_DebugConsole.toggleKey |
Reset has two guards. It is ignored above 25 units of absolute speed, and it is blocked entirely during a pursuit — the player is told "Can't reset vehicle during a pursuit!" instead.
If you rebind the mission key, pick one RCCP does not use. The driving table above is the full list of taken keys — F (NOS) and R (RCCP's record binding) are the two that look free but are not.
Returning to the garage
There is no garage key. CCDS_Marker_Garage is a trigger volume: drive into it and stay for 3 seconds, and the main menu scene loads. Leaving early cancels it.
Verify the install
Drive for a minute and confirm:
- The vehicle accelerates and steers.
- The HUD shows speed, gear and RPM.
- The minimap tracks you.
- Mission markers are visible in the world.
- Traffic vehicles are driving.
- The Console has no errors.
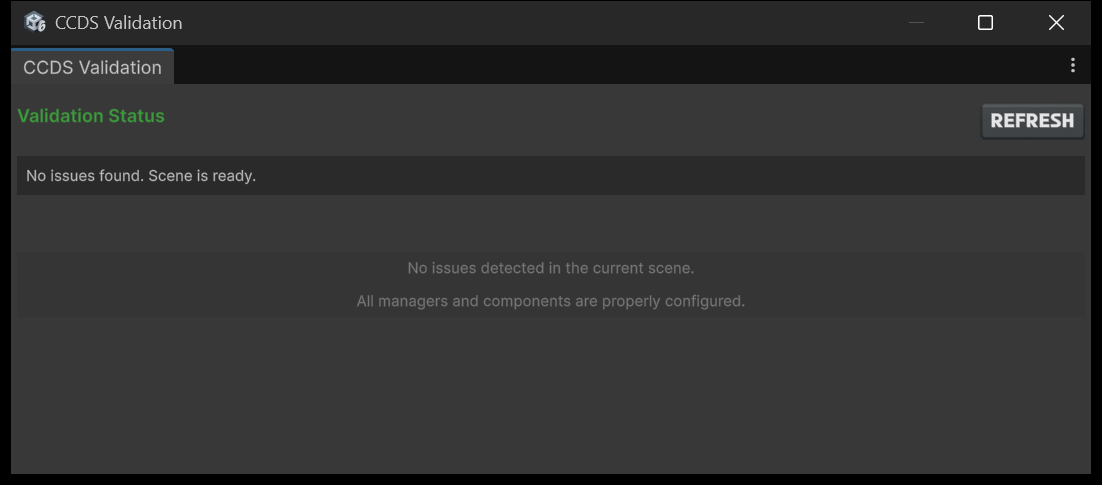
If any of these fail, open Tools → BoneCracker Games → CCDS → Open Validation Panel — it reports missing managers and broken scene references directly.
The Welcome Window's Health tab covers project-level settings rather than scene contents — layers, input handling and the build scene list — and links straight to the Validation Panel for anything scene-specific.
Next
- What You Get — what is in the package and where.
- Add Your Own Vehicle — the usual first customization.
- Common Problems — if the first drive did not work.