Essential Concepts
This document is the vocabulary of Realistic Truck Simulator (RTS). It defines every core building block — trucks, trailers, loads, jobs, stations, zones, and the systems that connect them — so the rest of the documentation makes sense. Read it once before diving into scene setup or scripting; everything else in this series builds on these terms.
How the Pieces Fit Together
RTS revolves around one loop: the player picks a Job, attaches a compatible Trailer to their Truck, fills the trailer with Loads at a Load Station, and drives to the matching Delivery Zone to complete the job. The Guide System draws a line to the current objective, Name Tags label everything in the world, and three managers coordinate the whole thing behind the scenes. Every cargo amount in RTS — trailer capacity, load weight, job requirements — is measured in kilograms (kg).
For the full step-by-step runtime flow, see How It Works.
Truck
A Truck is any Realistic Car Controller Pro (RCCP) vehicle with the RTS_Truck component added to its root. RCCP is the vehicle physics package bundled with RTS — it handles driving, wheels, and engine, while RTS_Truck is a lightweight marker that tells RTS "this vehicle participates in the truck simulation." The player drives one truck at a time.
RTS_Truck has no settings to configure in the Inspector. Under the hood it watches the RCCP car controller every frame to detect when a trailer connects or disconnects, and fires the matching events (OnTrailerAttached / OnTrailerDetached) so the rest of RTS can react. You can query it from code with HasTrailer() and GetConnectedTrailer().
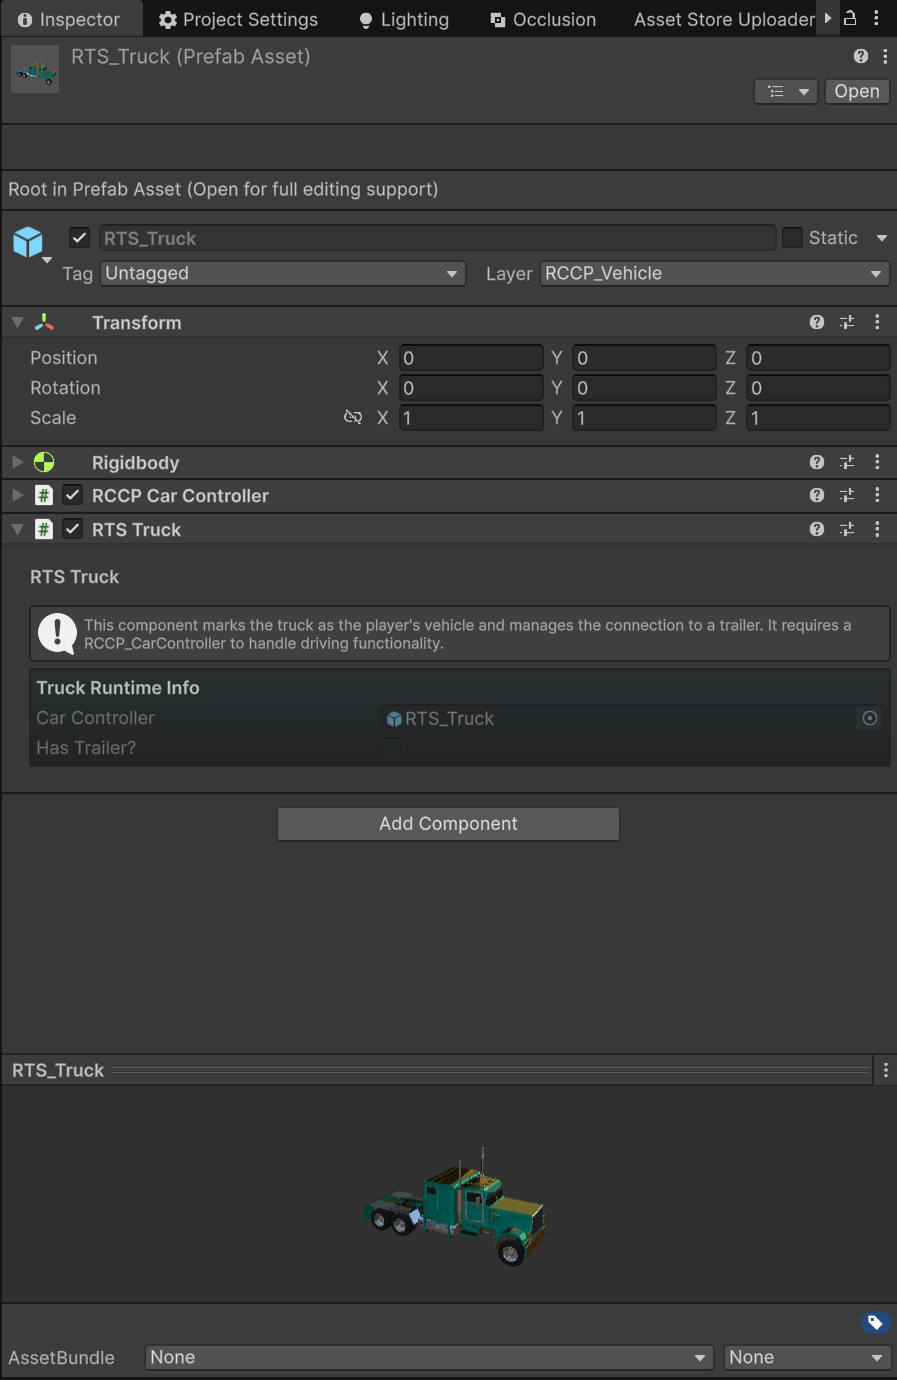
RTS ships with one ready-made truck prefab (a prefab is a saved GameObject template you can reuse): Assets/RTS/Prefabs/Trucks/RTS_Truck.prefab. To turn your own RCCP vehicle into a truck, select it in the scene and use Tools → BoneCracker Games → Realistic Truck Simulator → Add → Add RTS Player Script To Selected Truck, or see Creating Trucks.
Trailer
A Trailer is a towable cargo carrier with the RTS_Trailer component. It requires an RCCP_TrailerController on the same GameObject (the RCCP component that handles the physical hitching) — if that component is missing, RTS_Trailer logs a warning and disables itself. Attaching and detaching are handled physically by RCCP's trailer controller; the player detaches the current trailer with the T key.
There are four trailer types, defined by the RTS_Trailer.TrailerType enum:
| Type | Description | Ships as a prefab? |
|---|---|---|
Flatbed |
Open platform — the most versatile carrier | Yes |
Tanker |
Sealed tank for liquids | Yes |
Box |
Enclosed box body | Yes |
LowLoader |
Low platform for heavy equipment | No — available for your own trailers |
Only Box, Flatbed, and Tanker trailer prefabs ship in Assets/RTS/Resources/Trailers. LowLoader is a valid type you can use when creating your own trailers.
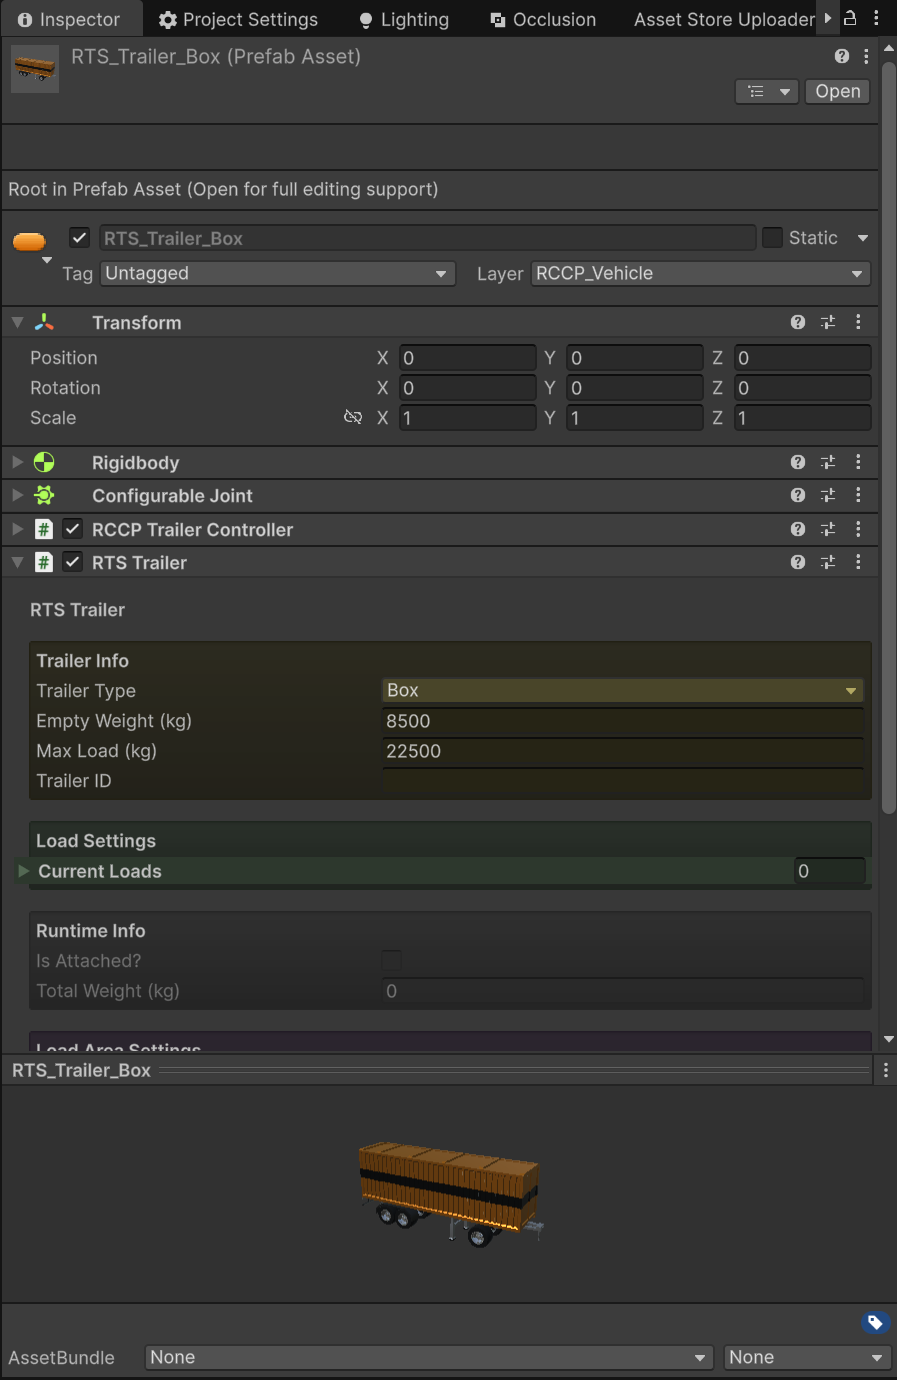
Key RTS_Trailer fields:
- trailerType — one of the four types above (script default:
Flatbed). - emptyWeight — the trailer's own weight in kg with no cargo (script default
1000; all three shipped prefabs use8500). - maxLoad — maximum cargo weight in kg (script default
5000; all three shipped prefabs use22500). - trailerID — optional string for identifying this trailer in debugging or UI.
- currentLoads — the list of cargo items currently on the trailer (runtime).
- isAttached / totalWeight — runtime info: whether it is hitched, and empty weight plus cargo.
- loadRoot, loadColumns (default
3), loadRows (default5), loadSpacingX (default1.2), loadSpacingZ (default1.5) — control the grid where load models are placed visually.
When cargo is added, the trailer spawns matching load prefabs in a grid starting at loadRoot. The load prefab list fills itself automatically at startup from Assets/RTS/Resources/Loads — you never assign it by hand.
Load
A Load is a single cargo item — a crate, a pallet, a fuel volume — represented by a prefab with the RTS_Load component. Each load has just two fields: a loadType and a weight in kilograms (script defaults: Crate, 1000).
Load types come from the RTS_Trailer.LoadType enum: None, Pallet, Fuel, Vehicle, Crate, Container. None means "no cargo" and is never used on an actual load prefab, which leaves five usable load types.
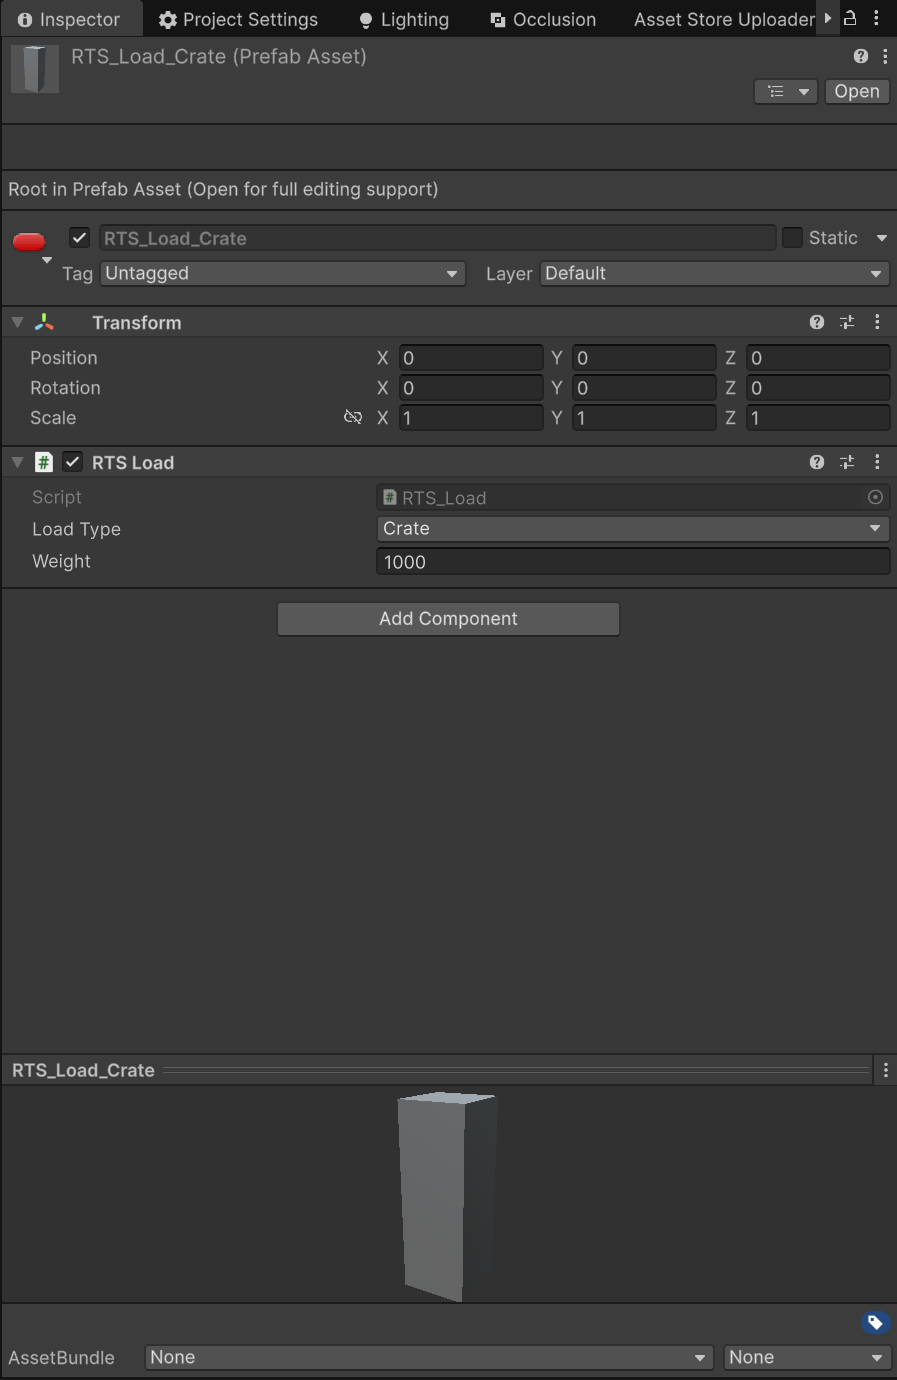
RTS ships six load prefabs in Assets/RTS/Resources/Loads:
| Prefab | Load type | Weight (kg) |
|---|---|---|
RTS_Load_Pallet |
Pallet | 1,000 |
RTS_Load_Fuel |
Fuel | 5,000 |
RTS_Load_Vehicle_1 |
Vehicle | 5,000 |
RTS_Load_Vehicle_2 |
Vehicle | 5,000 |
RTS_Load_Crate |
Crate | 1,000 |
RTS_Load_Container |
Container | 20,000 |
Trailers match load prefabs to a load type by name: a prefab whose name contains the load type string (for example RTS_Load_Crate contains "Crate") is used when that type is loaded. Keep this convention when adding your own loads.
Trailer and Load Compatibility
Not every load fits every trailer — fuel needs a tanker, a vehicle will not fit inside a box trailer. The rules live in one place in code, RTS_API.IsLoadTypeCompatibleWithThisTrailer(), and load stations enforce them when loading cargo. The job system separately enforces the job's own requirements: the exact trailer type on job start, and the required load type and amount on delivery.
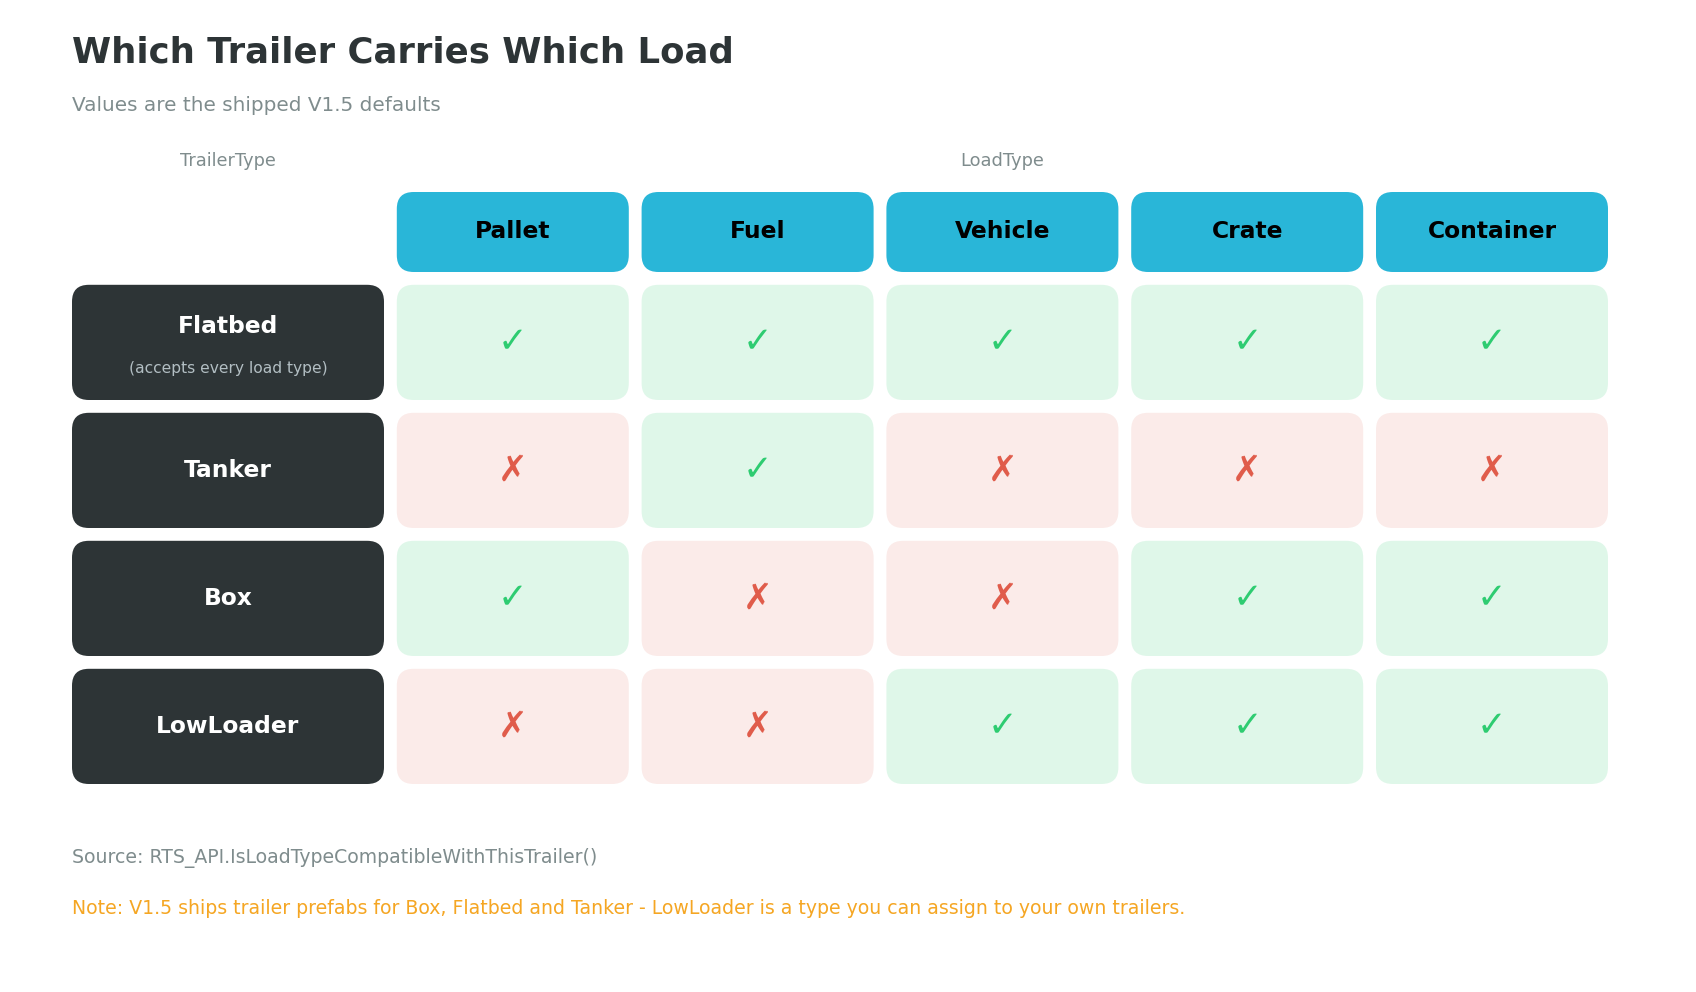
| Trailer ↓ / Load → | Pallet | Fuel | Vehicle | Crate | Container |
|---|---|---|---|---|---|
| Flatbed | Yes | Yes | Yes | Yes | Yes |
| Tanker | — | Yes | — | — | — |
| Box | Yes | — | — | Yes | Yes |
| LowLoader | — | — | Yes | Yes | Yes |
In short: the Tanker carries fuel only, the Flatbed carries anything, the Box carries dry goods (pallets, crates, containers), and the LowLoader carries heavy items (vehicles, crates, containers). None is compatible with nothing.
Job
A Job is a delivery mission, stored as an RTS_Job ScriptableObject — an asset file that holds data and lives in your Project window rather than in a scene. To appear in the in-game job list, a job asset must be assigned to the Job Manager's Available Jobs list in the Inspector — the Assets/RTS/Resources/Jobs folder is where the Job Browser window finds and creates job assets, not an automatic runtime source.
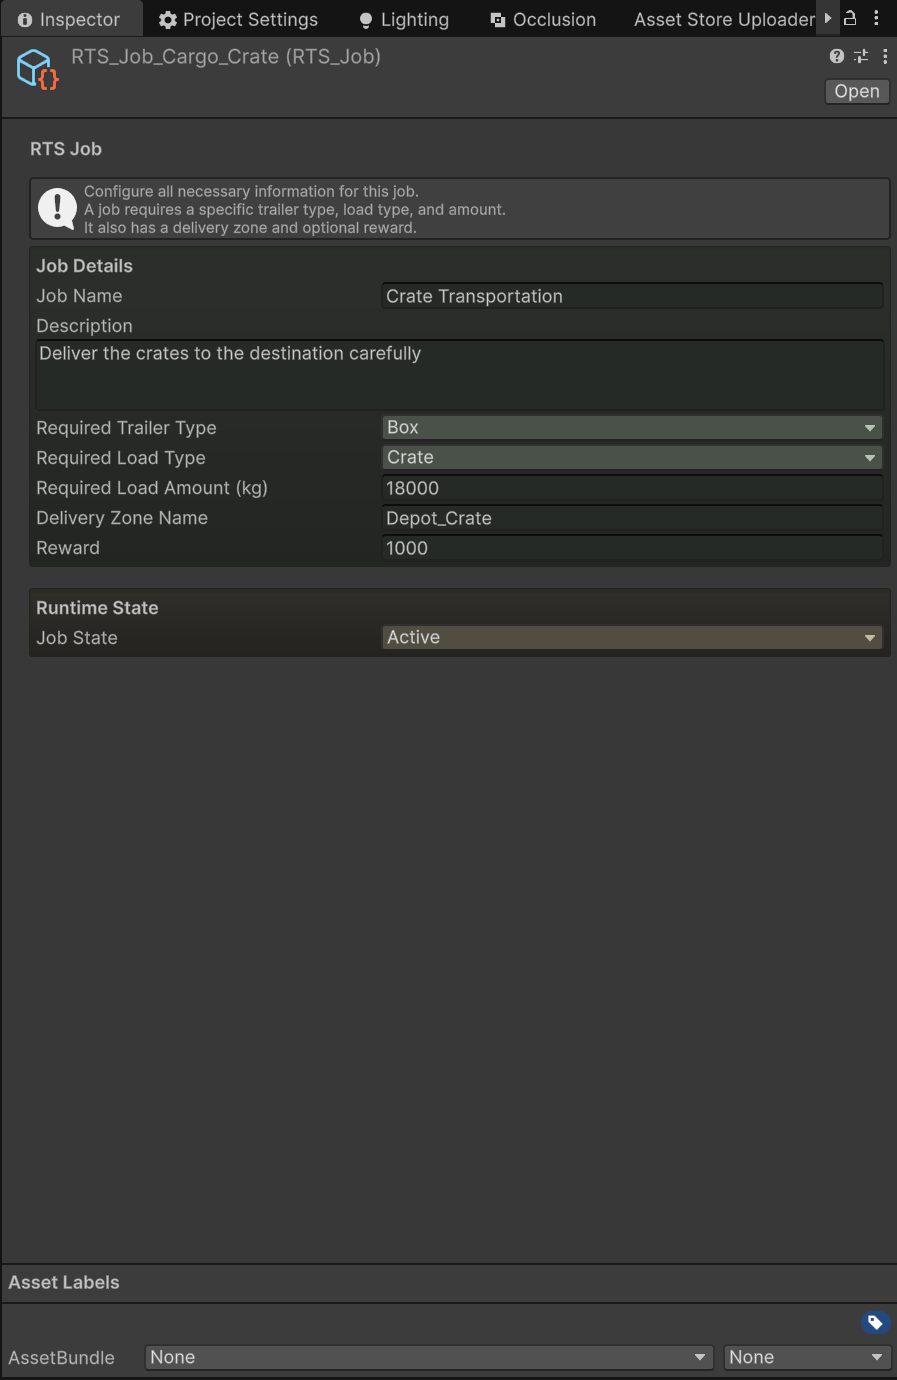
Every job defines:
- jobName — display name (default:
"New Delivery Job"). - description — objective text shown on the job card (default:
"Deliver specific cargo to the destination"). - requiredTrailerType — which trailer type the player must have attached (default:
Box). - requiredLoadType — which cargo type to deliver (default:
Crate). - requiredLoadAmount — minimum cargo weight in kg for delivery (default:
2000). - deliveryZoneName — the string ID of the target delivery zone (default:
"Depot_01"). This must exactly match a zone'szoneIDin the scene. - reward — money earned on completion (default:
1000). RTS fires the completion event but does not include a money system — consuming the reward is an integration point for your own game. - state — runtime lifecycle state:
Active,Completed, orTerminated.
The city demo ships five jobs (crate, pallet, container, fuel, and vehicle transportation). Only one job can be active at a time. See Jobs & Loads for creating your own.
Load Station
A Load Station is the place where cargo goes onto the trailer. It is a trigger area — an invisible collider marked Is Trigger, which detects objects entering it without physically blocking them. Park the player's trailer inside and the station fills it in timed cycles.
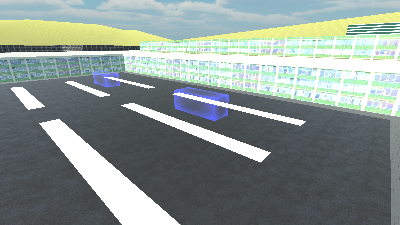
Each station (RTS_LoadStation component) has three settings: loadType (what it dispenses; default Crate), loadAmount (kg added per cycle; default 5000), and loadCooldown (seconds between cycles; default 1.6). A station only loads when all of these are true:
- The trailer belongs to the player (it is attached to the player's truck).
- A job is currently active — otherwise you get the notification "You're not permitted to load this trailer unless you take the job".
- The trailer type is compatible with the station's load type (see the matrix above).
Loading stops automatically when the job's requiredLoadAmount is reached ("Trailer is loaded") or the trailer's maxLoad is hit ("Trailer is full"). In the Scene view, the station's trigger area is drawn with a green gizmo and a floating label such as "Load Station: Crate", so it is easy to find and resize while editing.
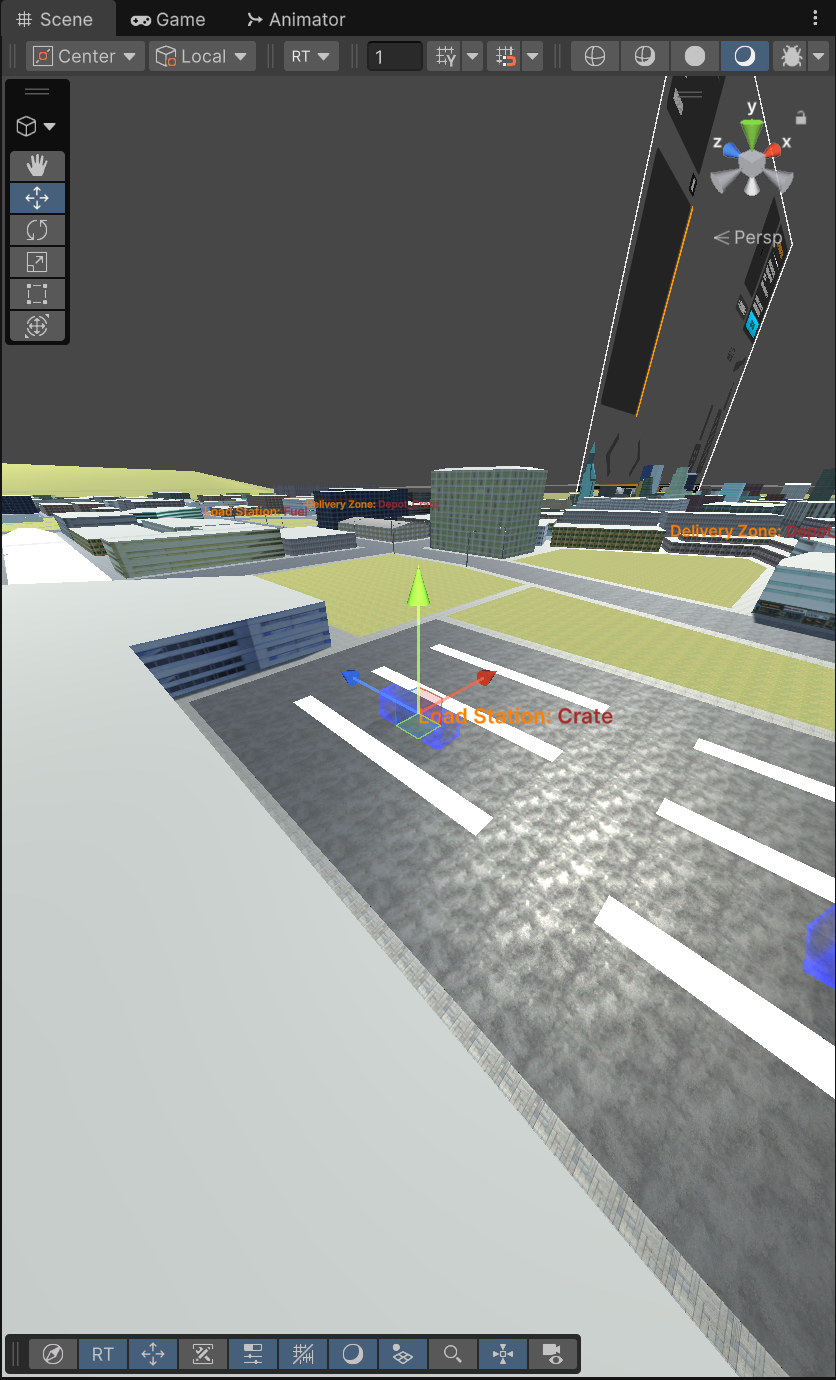
The city demo includes five stations — one per load type. See Locations for placing your own.
Delivery Zone
A Delivery Zone is the trigger area where a job is completed. Drive the loaded trailer into the green zone that matches the active job, and RTS validates the cargo and finishes the delivery.
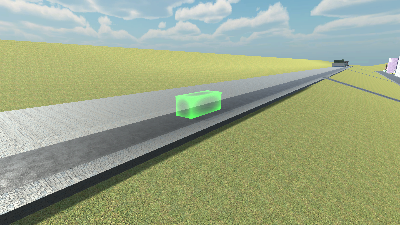
The RTS_DeliveryZone component has one key setting: zoneID (default "Depot_01"). A job finds its destination by string match — the job's deliveryZoneName must equal the zone's zoneID exactly. Entering the wrong zone shows the notification "This delivery zone is not compatible for your cargo". Entering the right zone with enough cargo of the required type completes the job; arriving short shows "Not enough cargo of the required load type to complete the job".
Like load stations, delivery zones need a collider with Is Trigger enabled and draw a gizmo plus label in the Scene view. The city demo ships five zone prefabs (crate, pallet, container, fuel, and vehicle depots).
Trailer Spawn Point
A Trailer Spawn Point (RTS_TrailerSpawnPoint) is a marker that spawns a trailer prefab at its own position when the scene starts. It has two settings: trailerPrefab (which trailer to spawn) and timeToSpawn (delay in seconds after scene start; default 0). The trailer appears 1.5 meters above the marker so it settles onto the ground cleanly.
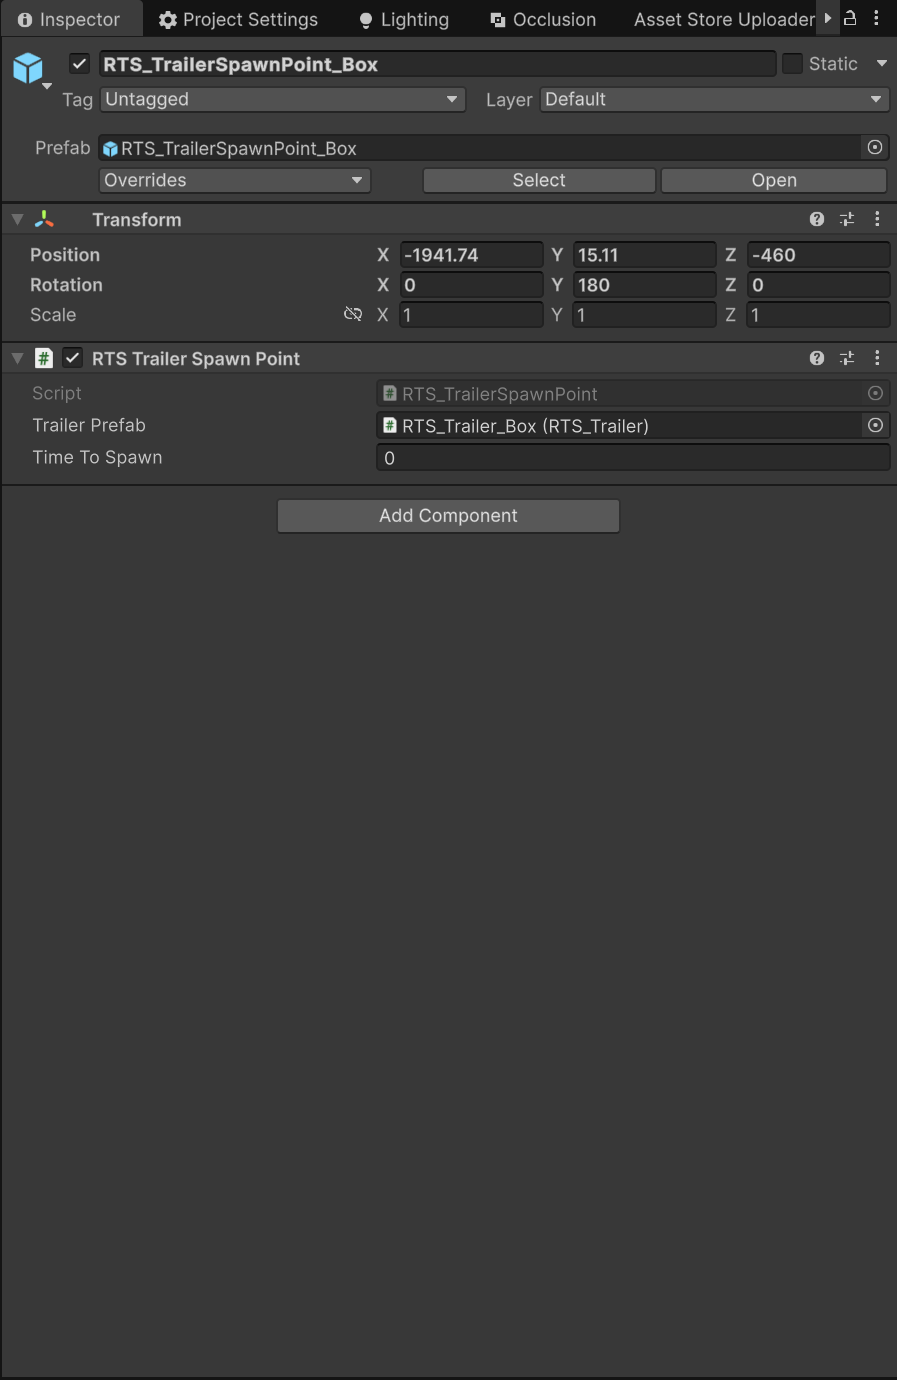
Spawn points matter for the job system: when the player takes a job without a compatible trailer attached, RTS searches the scene for the closest trailer of the required type and guides the player to it. The city demo has three spawners — Box, Flatbed, and Tanker.
Guide System
The Guide System (RTS_GuideSystem) draws a cyan line from the player's truck to the current objective — a trailer to pick up, a load station to fill at, or the delivery zone to finish in. The line follows the road network using Unity's NavMesh (a precomputed map of drivable surfaces), so it bends around corners instead of pointing straight through buildings.
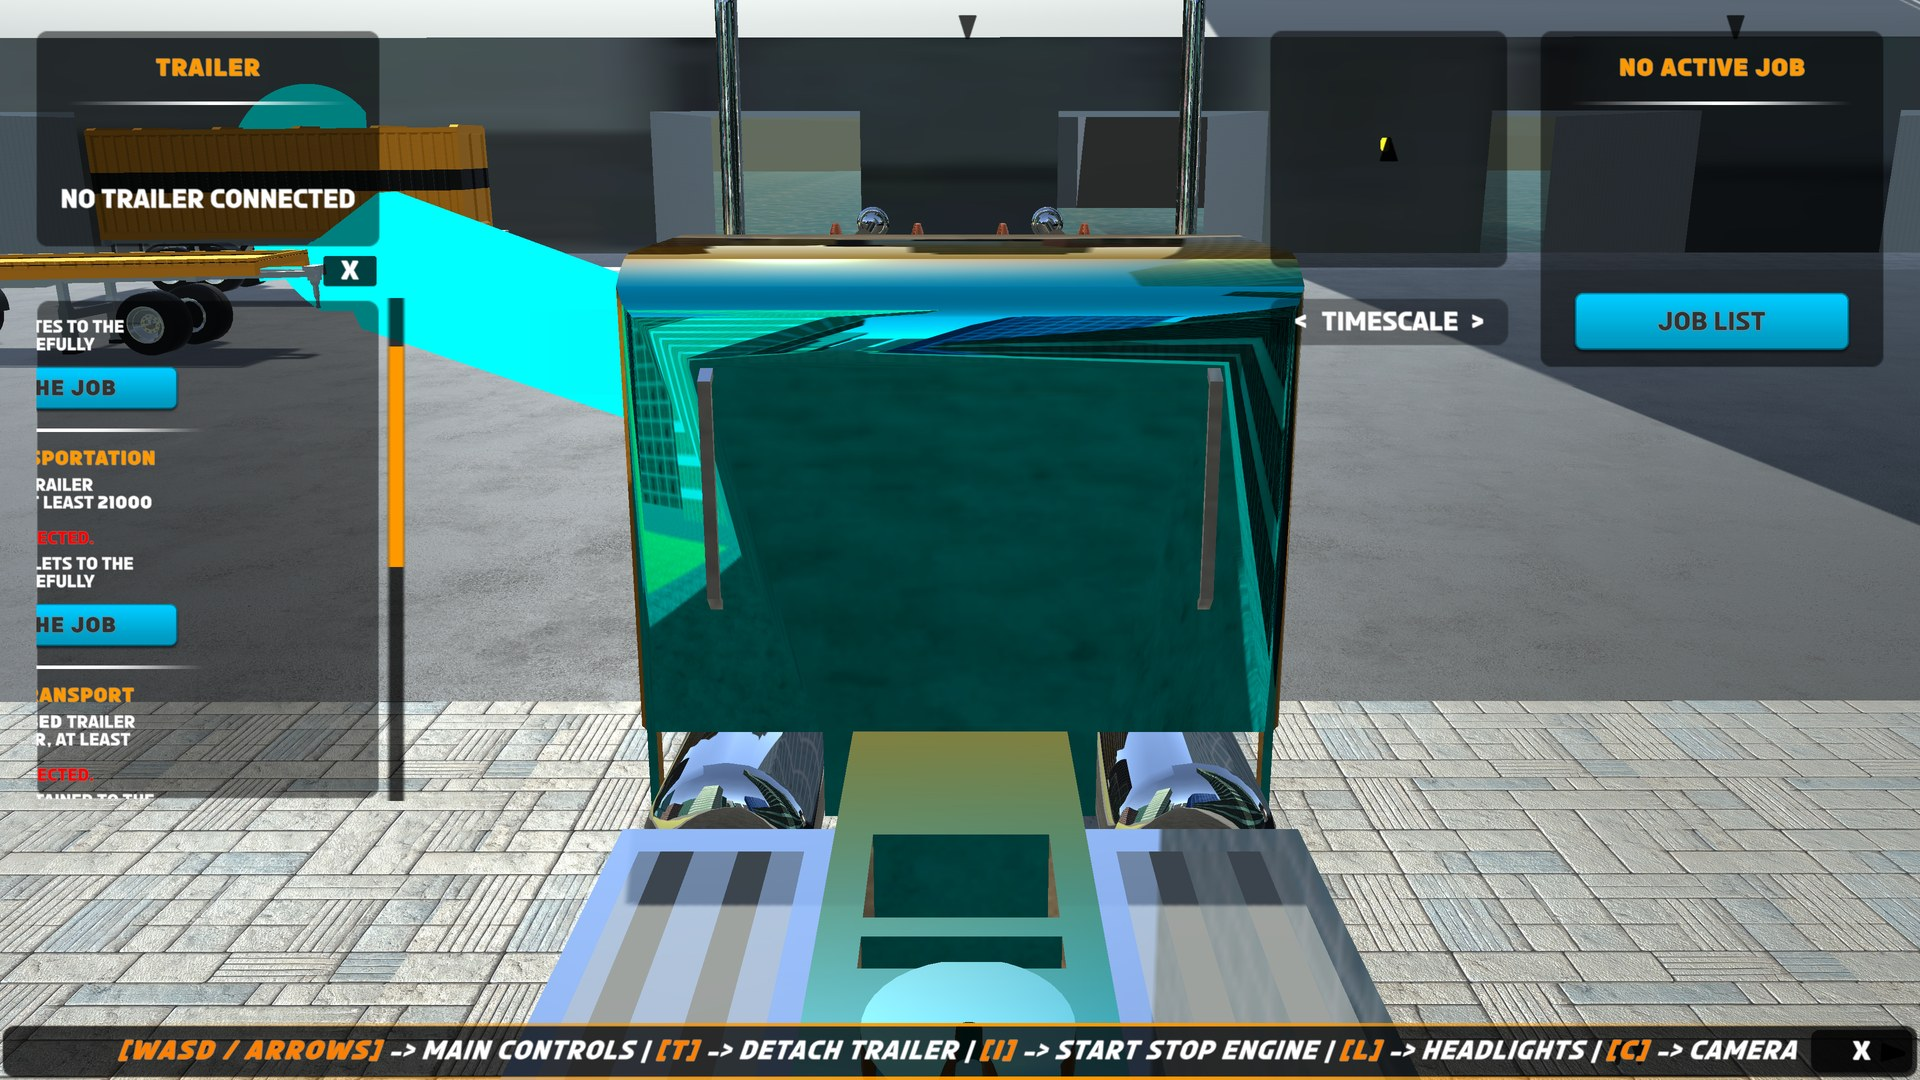
The job system drives it automatically — you normally never call it yourself. It recalculates whenever the truck or the target moves more than 1 meter, and its look is controlled by segmentLength (default 4) and heightOffset (default 1.5) on the component. From code, point it anywhere with RTS_API.SetNavigationTargetForGuide(Transform) (pass null to clear).
Name Tags
The Name Tag System (RTS_NameTagSystem) puts floating world-space labels over everything important: delivery zones ("Delivery Zone: Depot_Crate"), load stations ("Load Station: Fuel"), and trailers. A trailer's tag is dynamic — it shows the trailer type, its current load in kg against capacity, and total weight — and it hides automatically while that trailer is attached to a truck.
Tags are distance-managed by maxViewDistance (default 50 meters): beyond it a tag is hidden, and it fades out gradually starting at half that distance. This keeps the screen clean while still labeling everything nearby.
The Three Managers
Three scene-level manager components coordinate RTS. All three run early in the frame (script execution order -30) so they are already listening before trucks and trailers announce themselves. You rarely interact with them directly — the static RTS_API class is the intended entry point for code — but you should know what each one does.
RTS_SceneManager — tracks vehicles
Scans the scene at startup for every truck and trailer, keeps the lists up to date as things spawn and despawn, and holds the playerTruck reference everyone else relies on. It also runs a performance optimization: once per second it deactivates trailers farther than trailerVisibilityDistance (default 800 meters) from the player.
RTS_JobManager — runs the job
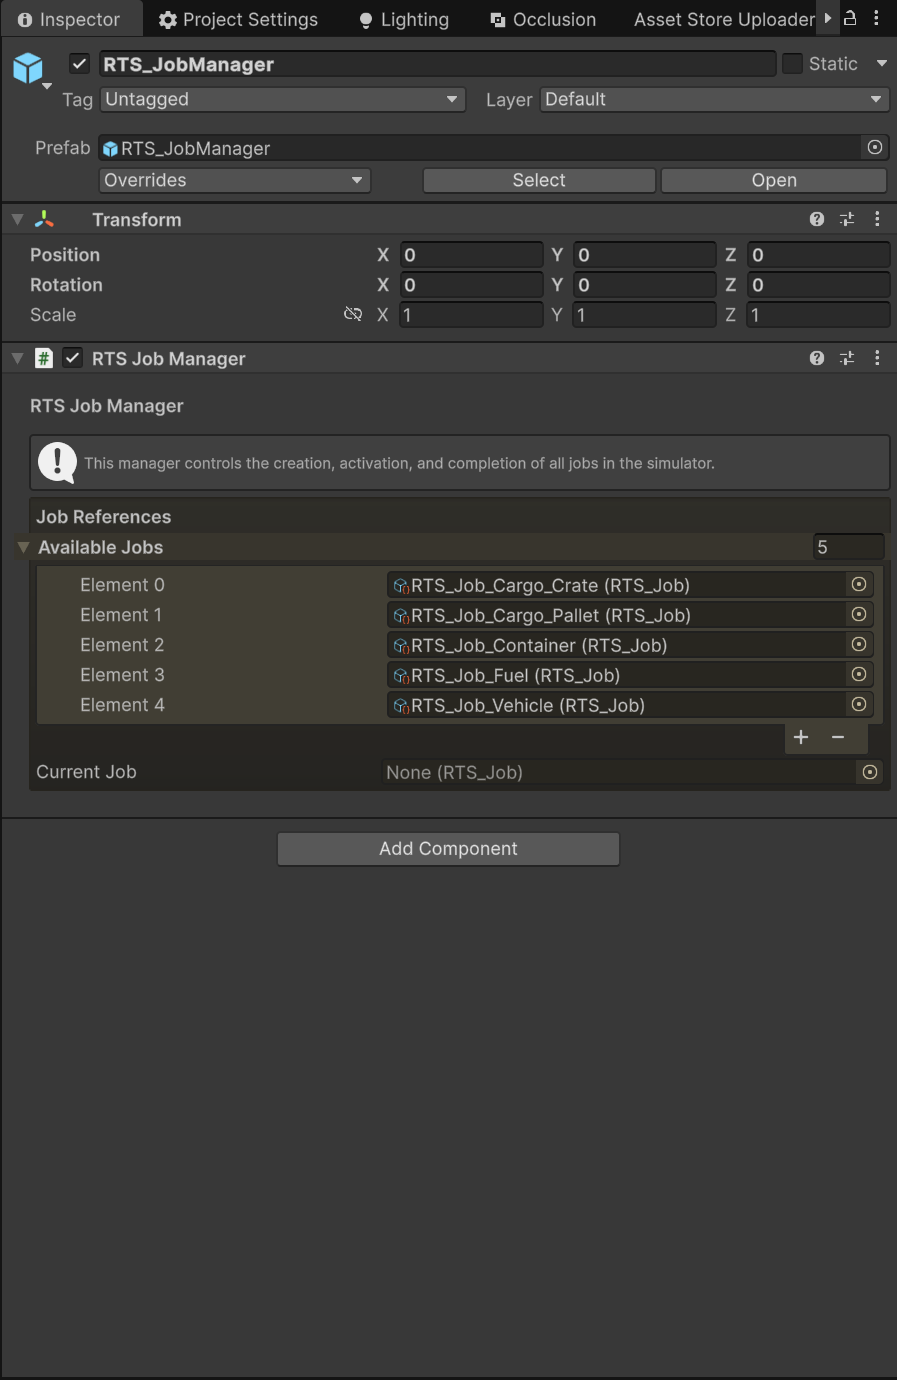
Holds the hand-assigned list of available jobs (drag job assets into Available Jobs in its Inspector), exposes them to the UI, and owns the single active job (currentJob). It validates trailer type on job start, steers the Guide System through the pickup → load → deliver sequence, and fires the job events on completion or termination.
RTS_PlayerEventsListener — wires events to reactions
Subscribes to every RTS event (spawns, attach/detach, job lifecycle) and turns them into responses: pointing the guide at the next objective, refreshing UI panels, showing notifications like "Trailer load is enough to complete the job". It is the glue between the event bus and the visible game.
The RTS_Settings Asset
RTS_Settings is a single ScriptableObject asset at Assets/RTS/Resources/RTS_Settings.asset that holds project-wide configuration: two debug flags — logEventsToConsole (prints every RTS event to the Console with an [RTS EVENT] prefix; shipped value True) and drawLabelOnStations (draws the Scene-view labels on stations and zones; shipped value True) — plus the prefab references used by every Create menu item (scene manager, job manager, UI canvases, camera, stations, zones, spawners, and the scene templates).
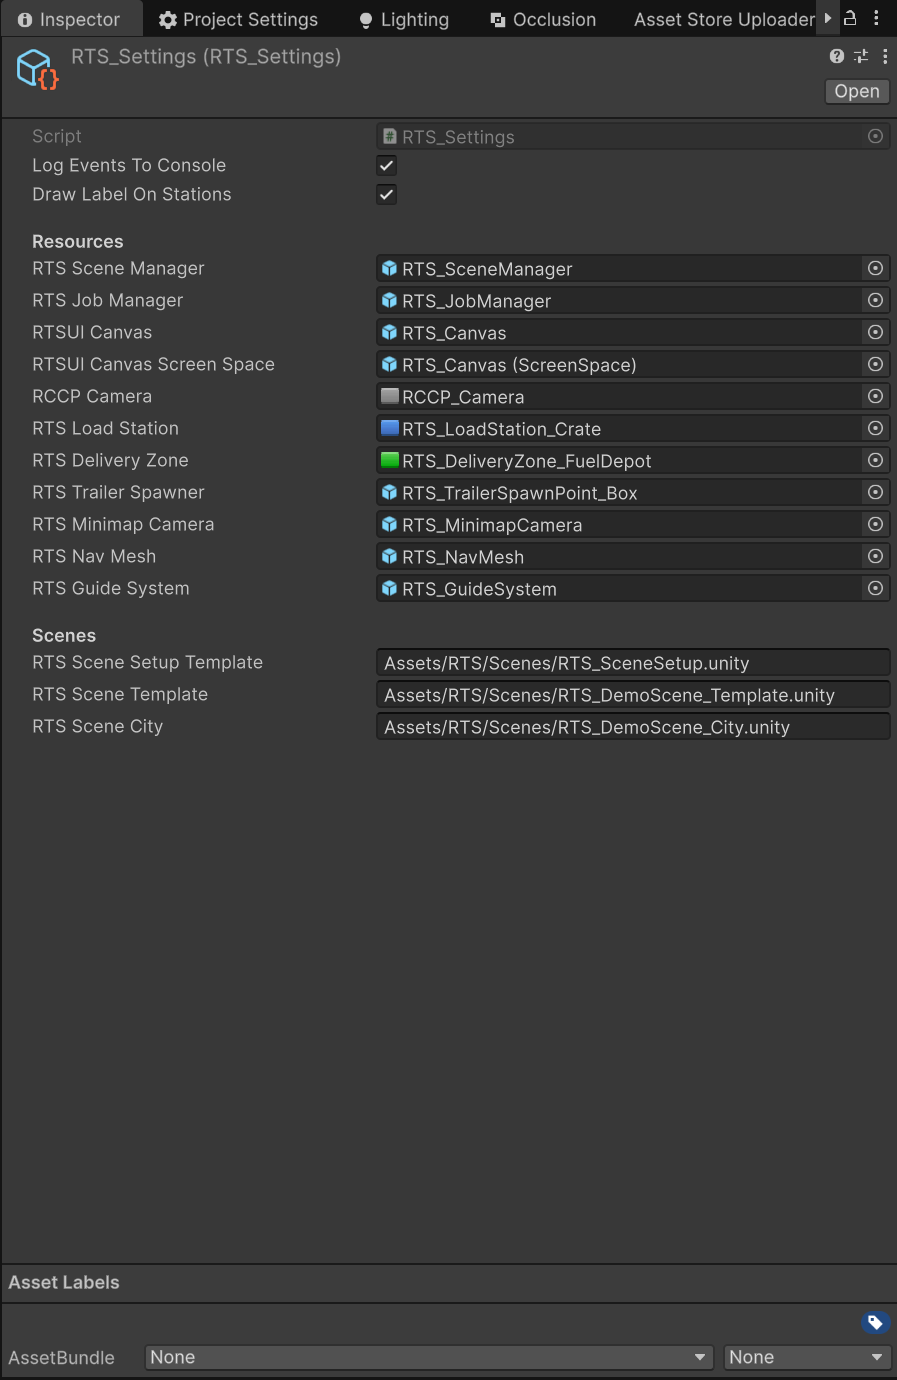
Open it any time via Tools → BoneCracker Games → Realistic Truck Simulator → Settings. Every field is documented in the Settings Reference.
Quick Reference
| Concept | Component / Asset | One-line summary |
|---|---|---|
| Truck | RTS_Truck |
Marker on an RCCP vehicle; the player drives one |
| Trailer | RTS_Trailer |
Towable cargo carrier; 4 types, capacity in kg |
| Load | RTS_Load |
One cargo item; 5 usable types, weight in kg |
| Job | RTS_Job (ScriptableObject) |
A delivery mission; one active at a time |
| Load Station | RTS_LoadStation |
Blue trigger area that fills the player's trailer |
| Delivery Zone | RTS_DeliveryZone |
Green trigger area that completes the job via zoneID |
| Trailer Spawn Point | RTS_TrailerSpawnPoint |
Spawns a trailer prefab after timeToSpawn seconds |
| Guide System | RTS_GuideSystem |
Cyan NavMesh line to the current objective |
| Name Tags | RTS_NameTagSystem |
Distance-faded world labels for zones, stations, trailers |
| Managers | RTS_SceneManager, RTS_JobManager, RTS_PlayerEventsListener |
Track vehicles, run the job, react to events |
| Settings | RTS_Settings asset |
Project-wide flags and prefab references |
Next Steps
Now that you know the vocabulary:
- How It Works — follow the full runtime flow from job start to delivery.
- Scene Setup — build an RTS scene of your own with the one-click setup.
- Creating Trucks and Creating Trailers — bring your own vehicles into the system.
- Jobs & Loads — author new missions and cargo types.
- Demo Scenes — see every concept from this page live in the city demo.