Adding and Editing Locations
This guide shows you how to place and configure the three location types that drive the RTS gameplay loop: load stations (where cargo is loaded onto your trailer), delivery zones (where jobs are completed), and trailer spawn points (where trailers appear in the world). You will create each one from the menu, understand every field in its Inspector, and learn the rules that decide when loading and delivery actually happen.
Prerequisites
Before starting, ensure you have:
- A scene with the RTS systems already set up — scene manager, job manager, UI canvas, guide system, and NavMesh. See Scene Setup.
- At least one job asset if you want to test the full loop, since load stations refuse to load a trailer while no job is active. See Jobs and Loads.
- A basic idea of the job flow (take job → load cargo → deliver). See How It Works.
A quick reminder of two terms used throughout this guide: a prefab is a GameObject saved as a reusable asset in your Project window, and a trigger collider is a Collider component with Is Trigger enabled — it detects objects entering its volume without physically blocking them. All three location types rely on one or both of these.
The demo city ships with a working example of everything in this guide: 5 load stations, 5 delivery zones, and 3 trailer spawn points, each grouped under separator objects in the Hierarchy. When in doubt, open Assets/RTS/Scenes/RTS_DemoScene_City.unity and inspect the shipped instances.
Load Stations
A load station is a trigger volume that fills the player's trailer with cargo while the trailer sits inside it. Drive in with a compatible trailer during an active job, wait, and cargo is added in timed cycles — no button press needed.
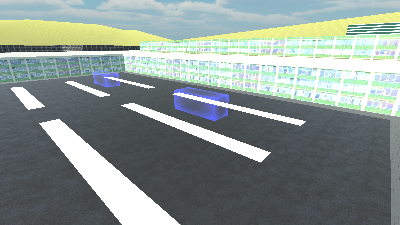
Creating a Load Station
- Open Tools → BoneCracker Games → Realistic Truck Simulator → Create → Scene → Create RTS Load Station. The same item is also available under GameObject → BoneCracker Games → Realistic Truck Simulator (for example when right-clicking in the Hierarchy).
- This instantiates the
RTS_LoadStation_Crateprefab into your scene. There is no duplicate check — you can create as many stations as your map needs. - Move and rotate the station into position, then set its Load Type to the cargo it should provide (see the settings below).
Alternatively, copy one of the five shipped prefabs from Assets/RTS/Prefabs/LoadStations — each comes pre-configured for one load type:
| Prefab | Load Type | Load Amount (kg/cycle) | Load Cooldown (s) |
|---|---|---|---|
RTS_LoadStation_Crate |
Crate | 3000 | 1.6 |
RTS_LoadStation_Pallet |
Pallet | 3000 | 1.6 |
RTS_LoadStation_Fuel |
Fuel | 1000 | 1.6 |
RTS_LoadStation_Vehicle |
Vehicle | 5000 | 1.6 |
RTS_LoadStation_Container |
Container | 20000 | 1.6 |
You can also add the component to your own GameObject via Component → Realistic Truck Simulator → Zones → RTS Load Station — just remember it needs a trigger collider on the same GameObject to detect trailers.
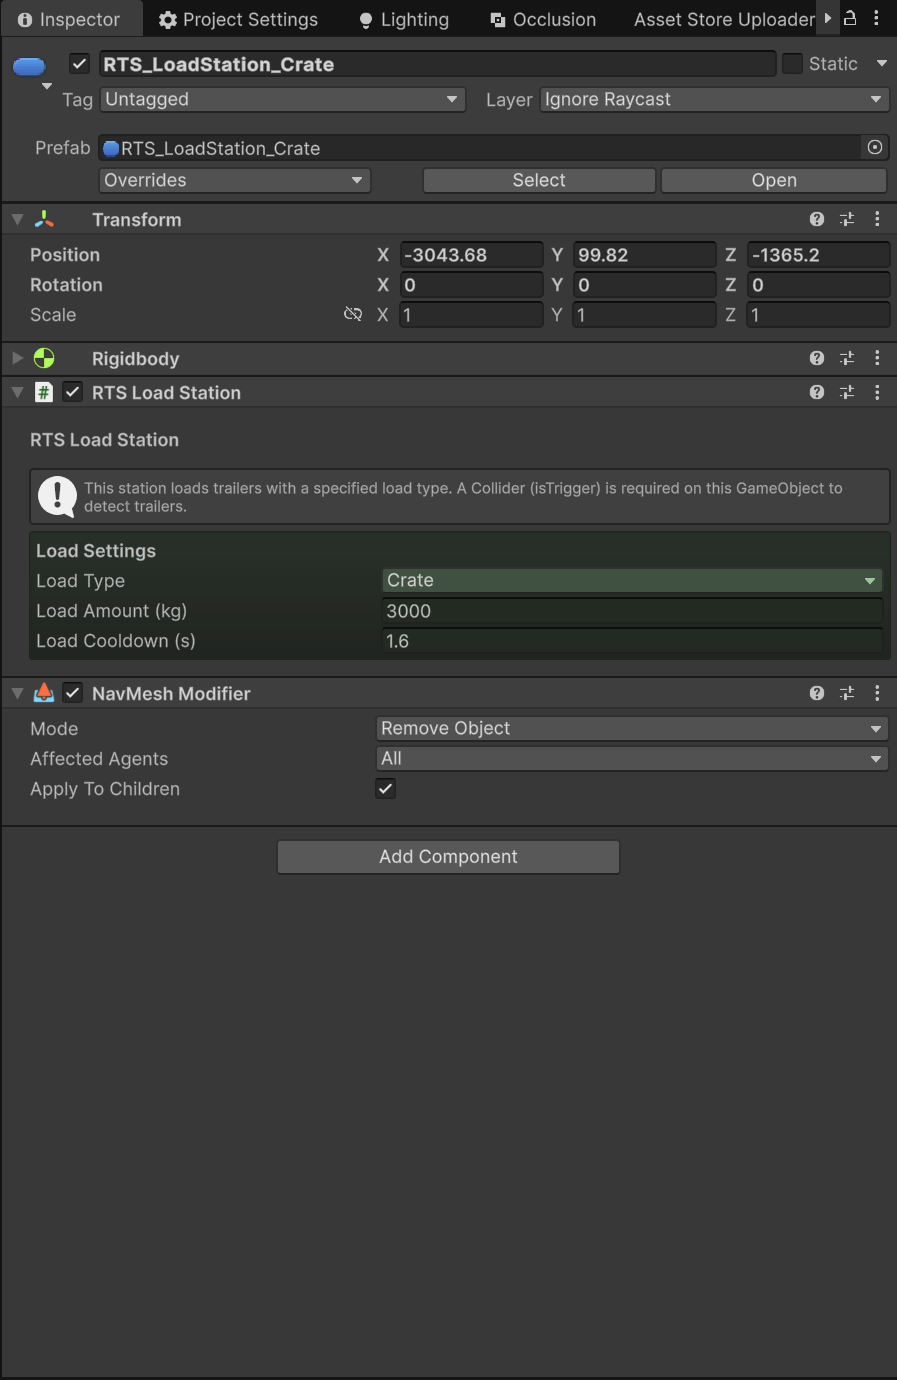
Load Station Settings
Select a load station to see its custom Inspector. The RTS_LoadStation component has three fields:
| Setting | Type | Default | Description |
|---|---|---|---|
| Load Type | RTS_Trailer.LoadType |
Crate |
Which load type this station provides. Options: None, Pallet, Fuel, Vehicle, Crate, Container. |
| Load Amount (kg) | float, Min 0 |
5000 |
Amount of cargo (kg) added per load cycle. |
| Load Cooldown (s) | float, Min 0.1 |
1.6 |
Seconds between load cycles. |
The defaults above are the script's own defaults; the shipped prefabs override Load Amount per type as shown in the table in the previous section.
Loading Rules
Every loadCooldown seconds, the station attempts one load cycle for each trailer inside it. A cycle only succeeds when all of these checks pass, in order:
- Player trailer only. The station ignores every trailer except the one belonging to the player's truck. AI or parked trailers are never loaded.
- A job must be active. With no active job you get the notification "You're not permitted to load this trailer unless you take the job".
- Trailer type must be compatible with the load type. Incompatible combinations show "Trailer type {trailer type} is not compatible with this {load type} load station". The compatibility rules (defined in
RTS_API.IsLoadTypeCompatibleWithThisTrailer()): Tanker carries Fuel only; Flatbed carries any load type except None; Box carries Pallet, Container, or Crate; LowLoader carries Vehicle, Container, or Crate. - The job's required amount caps loading. If adding one more cycle would push the trailer's current cargo weight past the active job's
requiredLoadAmount, the station stops and shows "Trailer is loaded". - The trailer's
maxLoadcaps loading. A trailer already at its maximum shows "Trailer is full". If the trailer is close to its maximum, the final cycle is clamped so it tops the trailer up exactly tomaxLoadinstead of overshooting.
When a cycle succeeds, the cargo is added and you see "Loaded {amount} kg of {load type}". Whether a cycle succeeds or fails, the per-trailer cooldown resets to Load Cooldown, so notifications repeat at that interval rather than spamming every frame.
Because the cap in rule 4 checks whether a full cycle would overshoot, choose a Load Amount that divides evenly into your jobs' requiredLoadAmount values — for example, the shipped Crate job requires 18000 kg and the Crate station adds 3000 kg per cycle, filling it in exactly six cycles.
Sizing the Trigger Collider
The station detects trailers with OnTriggerEnter/OnTriggerExit on its own Collider, which must have Is Trigger enabled. Any collider belonging to the trailer counts — the station reference-counts overlapping colliders per trailer, so multi-collider trailers do not trigger duplicate load cycles.
Make the trigger volume generous: it should comfortably contain the whole trailer where the player is expected to stop, with enough height to cover the trailer body. If the volume is too small or too low, drivers will struggle to keep the trailer inside it for the duration of several load cycles. A Box Collider works for rectangular loading bays; a Sphere Collider also works and is drawn correctly by the gizmo.
Scene View Gizmo and Label
In the Scene view, every load station draws a semi-transparent green box (or sphere, matching its collider) with a green wireframe outline — this is a gizmo, an editor-only visual that never appears in builds. Above the volume floats an orange Load Station: label showing the configured load type, which fades out as you move the Scene camera away.
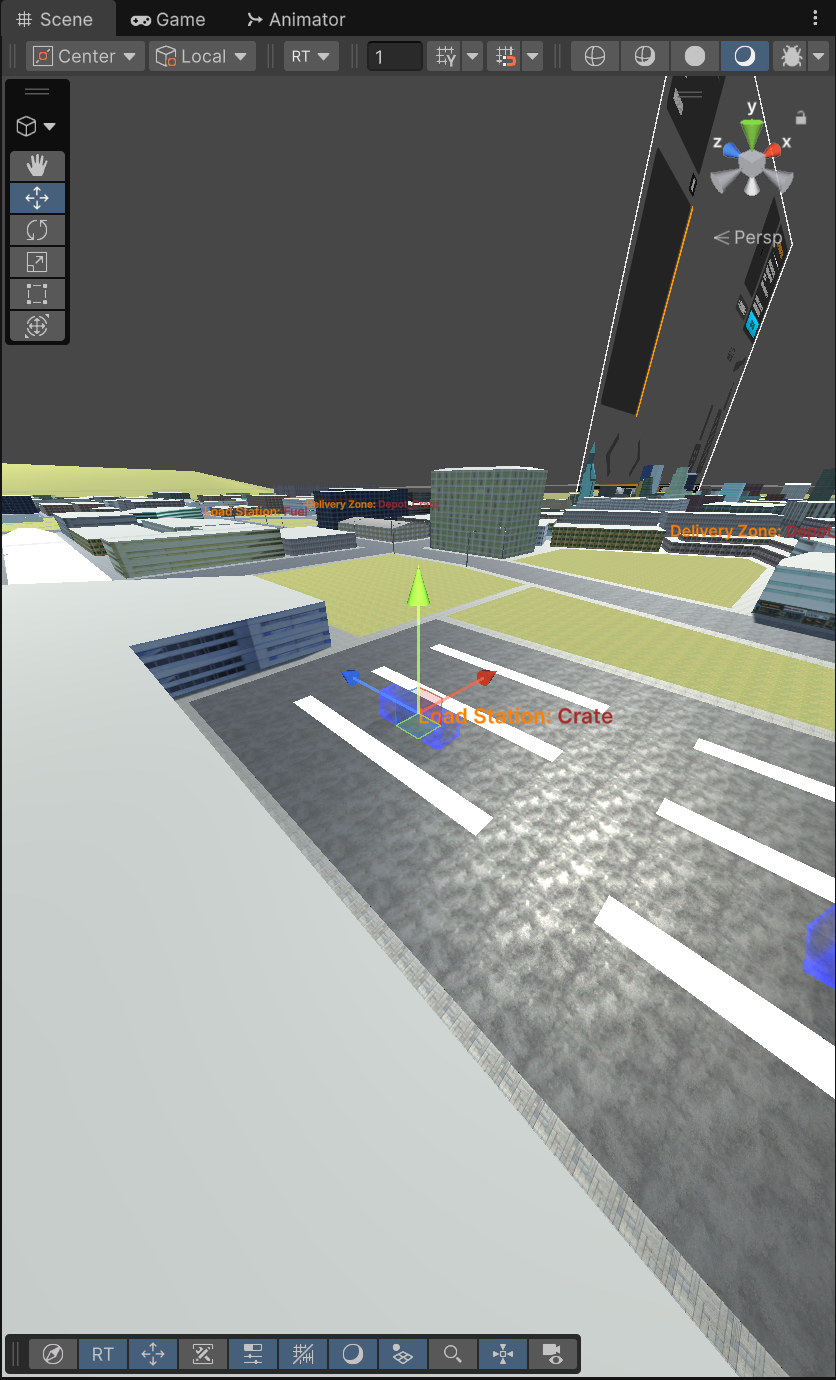
The labels for stations, zones, and spawners can be toggled with the drawLabelOnStations option on the RTS_Settings asset (Tools → BoneCracker Games → Realistic Truck Simulator → Settings); it is True by default. See the Settings Reference.
Delivery Zones
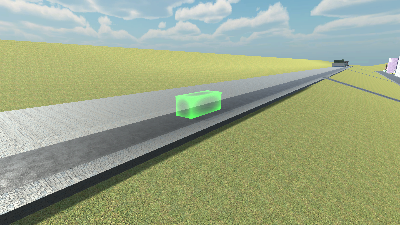
A delivery zone is a trigger volume where an active job is completed. When the player's trailer enters the zone that matches the job, the system validates the cargo and finishes the job.
Creating a Delivery Zone
- Open Tools → BoneCracker Games → Realistic Truck Simulator → Create → Scene → Create RTS Delivery Zone (also available under the GameObject menu root).
- This instantiates the
RTS_DeliveryZone_FuelDepotprefab. As with load stations, there is no duplicate check — place as many zones as you need. - Position the zone where trucks should stop, then set its Zone ID (next section).
Alternatively, copy a shipped prefab from Assets/RTS/Prefabs/DeliveryStations. Like load stations, a delivery zone is just the RTS_DeliveryZone component plus a Collider with Is Trigger enabled, so you can also build one from your own GameObject via Component → Realistic Truck Simulator → Zones → RTS Delivery Zone.
Zone ID — the Link to Jobs
The Zone ID field is the single connection between a delivery zone and the job system. A job asset stores a deliveryZoneName string; the job can only be completed inside a zone whose zoneID is an exact match for that string. The comparison is a plain string equality — capitalization, spaces, and underscores all matter, so Depot_Fuel and depot_fuel are different zones. The default value on a new component is Depot_01.
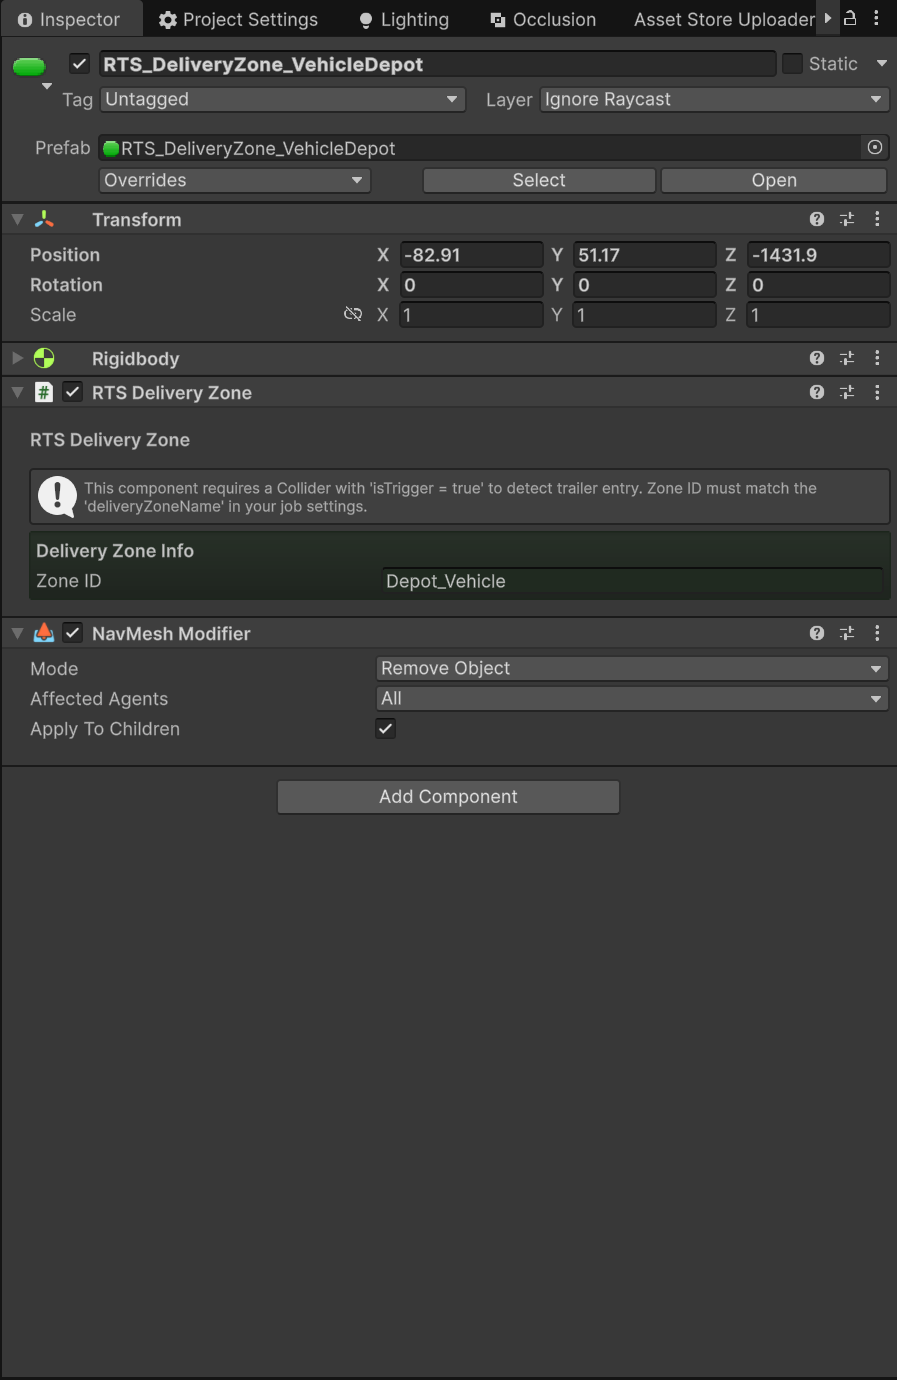
The shipped prefabs and demo jobs use these IDs:
| Delivery zone prefab | Zone ID | Used by shipped job |
|---|---|---|
RTS_DeliveryZone_CrateDepot |
Depot_Crate |
Crate Transportation |
RTS_DeliveryZone_PalletDepot |
Depot_Pallet |
Pallet Transportation |
RTS_DeliveryZone_ContainerDepot |
Depot_Container |
Container Transport |
RTS_DeliveryZone_FuelDepot |
Depot_Fuel |
Fuel Transportation |
RTS_DeliveryZone_VehicleDepot |
Depot_Vehicle |
Vehicle Transportation |
When you create a new zone for a new job, pick any unique string and enter it in both places: the zone's Zone ID and the job asset's Delivery Zone Name. A mismatched or misspelled ID is one of the most common reasons a job "won't complete" — see Common Mistakes.
What Happens on Delivery
When a collider enters the zone, RTS_DeliveryZone runs these checks:
- If no
RTS_JobManagerexists in the scene, it logs the error "RTS_JobManager could not be found in the scene to complete the job!" and stops. - If there is no active job, or the entering object is not the player's trailer, nothing happens.
- If the active job's
deliveryZoneNamedoes not match this zone'szoneID, the notification "This delivery zone is not compatible for your cargo" appears — you are at the wrong depot. - On a match, the zone calls
TryCompleteJob(). The job manager then verifies the trailer carries enough of the required load type; if it is short, you see "Not enough cargo of the required load type to complete the job". If the cargo is sufficient, the loads are cleared, the job completes, and the "{job name} completed" notification appears.
Delivery zones draw the same green gizmo volume and label style as load stations, with an orange Delivery Zone: label showing the zone ID, gated by the same drawLabelOnStations setting.
Trailer Spawn Points
A trailer spawn point places a trailer into the world when the scene starts. The job system also uses these spawned trailers: if the player takes a job without a compatible trailer attached, it guides them to the closest matching trailer in the scene.
Creating a Trailer Spawn Point
- Open Tools → BoneCracker Games → Realistic Truck Simulator → Create → Scene → Create RTS Trailer Spawner (also under the GameObject menu root).
- This instantiates the
RTS_TrailerSpawnPoint_Boxprefab. No duplicate check — one spawn point per trailer you want available. - Position it on flat, open ground with room for a truck to reverse up and hitch.
The shipped variants in Assets/RTS/Prefabs/TrailerSpawners are RTS_TrailerSpawnPoint_Box, RTS_TrailerSpawnPoint_Flatbed, and RTS_TrailerSpawnPoint_Tanker — matching the three trailer prefabs that ship in Assets/RTS/Resources/Trailers. There is no shipped LowLoader trailer, but the type exists for trailers you build yourself — see Creating Trailers.
Spawn Point Settings
| Setting | Type | Default | Description |
|---|---|---|---|
| Trailer Prefab | RTS_Trailer |
none | Prefab to instantiate at this spawn point. |
| Time To Spawn | float, Min 0 |
0 |
Delay in seconds before the trailer spawns. |
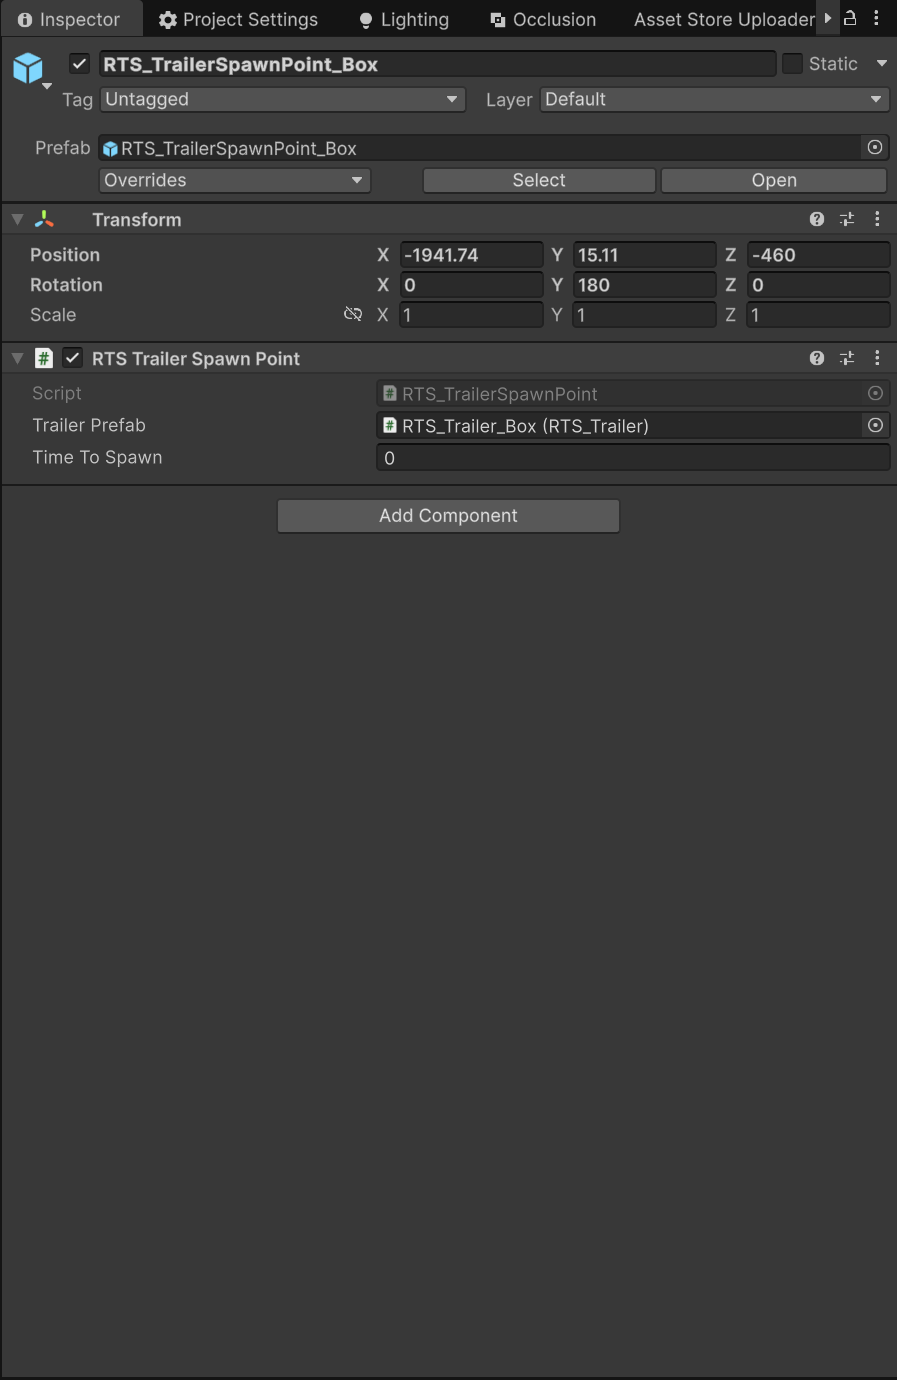
At scene start, the spawn point waits Time To Spawn seconds, then instantiates Trailer Prefab at its own position raised 1.5 m — the small drop lets the trailer's physics settle instead of spawning intersecting the ground. If you leave Trailer Prefab empty, the Console warns "No trailer prefab assigned to spawn point {name}." and nothing spawns.
In the Scene view a spawn point draws a small green sphere gizmo with an orange Trailer Spawner: label above it, using the same drawLabelOnStations toggle as the other location types.
Name Tags and Minimap Icons
You do not need to label your locations manually — two systems pick them up automatically, as long as they are present in the scene.
Name tags. RTS_NameTagSystem creates world-space labels in its Awake() — "Delivery Zone: {zone ID}" for zones, "Load Station: {load type}" for stations, plus dynamic tags for active trailers showing their type and load weights. Because location tags are created at scene start, place your stations and zones in the scene before entering Play Mode — a location added at runtime will not receive a tag. Tags begin fading at half of the system's maxViewDistance (default 50 m) and disappear beyond it, and a trailer's tag hides while that trailer is attached to the truck.
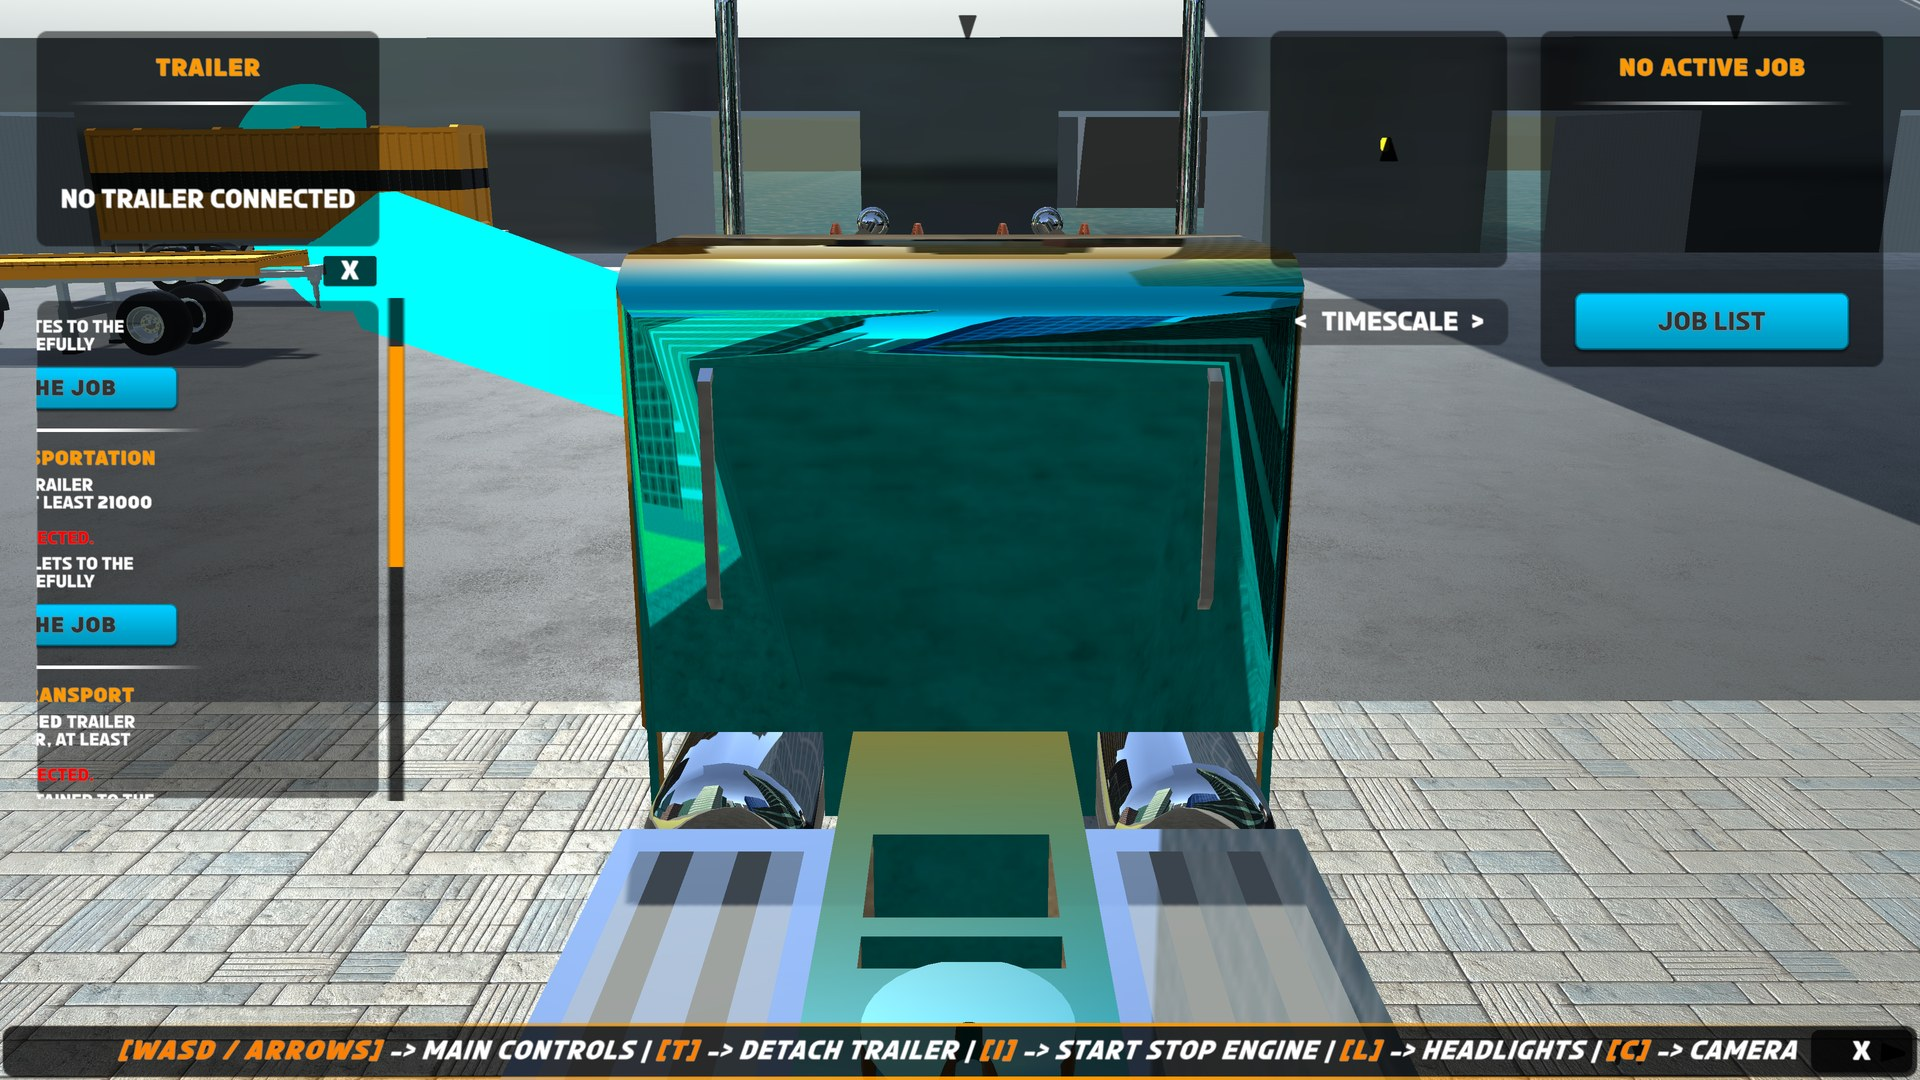
Minimap icons. RTS_UI_Minimap automatically spawns an icon 50 m above every load station, delivery zone, and unattached trailer, placed on the RTS_MinimapIcons layer (layer 12 in the shipped project). Trailer icons only show while the player has no trailer attached. If you removed that layer, the Console warns 'Layer "RTS_MinimapIcons" not found. Make sure the layer name is correct.' — see the UI System guide for the full minimap setup.
Placement Tips
- Keep locations on NavMesh-covered, drivable ground. The guide system draws its path with
NavMesh.CalculatePathand samples positions within a 100 m radius of the target. A station or zone floating far from the baked NavMesh cannot be reached by the guide line, so the player gets no route. See Scene Setup for creating the RTS NavMesh. - Leave approach room. Trucks with trailers need long, shallow approaches — avoid placing stations at the end of tight alleys or immediately after sharp corners.
- Make trigger volumes taller than the trailer. Tall cargo (containers, vehicle loads) must still be inside the trigger for loading and delivery to register.
- Give every zone a unique Zone ID. Two zones sharing an ID both complete the same job, which is rarely what you want.
- Match station load types to your jobs. A job for Fuel is only serviced by a Fuel station and a Tanker trailer; check the compatibility rules in Jobs and Loads before wiring up a new route.
Verification
To confirm your locations work end to end:
- Enter Play Mode and check the Scene/Game view: each spawn point should produce its trailer (after its delay), and name tags should appear over your stations and zones as you approach within 50 m.
- Take a matching job from the job list, hitch the trailer, and drive into your load station. You should see "Loaded {amount} kg of {load type}" notifications every 1.6 seconds (or your configured cooldown) until "Trailer is loaded" appears.
- Follow the guide line to your delivery zone and drive in. The job should complete; if you instead see "This delivery zone is not compatible for your cargo", the zone's Zone ID does not exactly match the job's Delivery Zone Name.
- If nothing happens at all in a station or zone, select it and confirm its Collider has Is Trigger enabled and that the volume is large enough to contain the trailer.
Next Steps
Now that your map has working locations, you might want to:
- Create the jobs and cargo that use them — Jobs and Loads.
- Build additional trailers (including a LowLoader) for your spawn points — Creating Trailers.
- Customize notifications, the minimap, and the job list UI — UI System.
- Review every toggle on the settings asset, including scene labels — Settings Reference.
- If something misbehaves, check Common Mistakes and Troubleshooting.